Pear butter recipe is one of those delicious homemade treats that you might not have tried yet—but once you do, it quickly becomes a kitchen favorite. Unlike store-bought spreads, making homemade pear butter lets you control the sweetness and flavors while preserving the natural richness of fresh pears. In this post, you’ll discover not only a simple and tasty way to make pear butter at home but also insider tips on picking the best pears, choosing the right spices and sweeteners, and smart storage ideas. Get ready to transform your pear harvest into a luscious, versatile spread that’s perfect for breakfast, baking, and gifting!
The Magic Behind Pear Butter: What Makes It So Special?
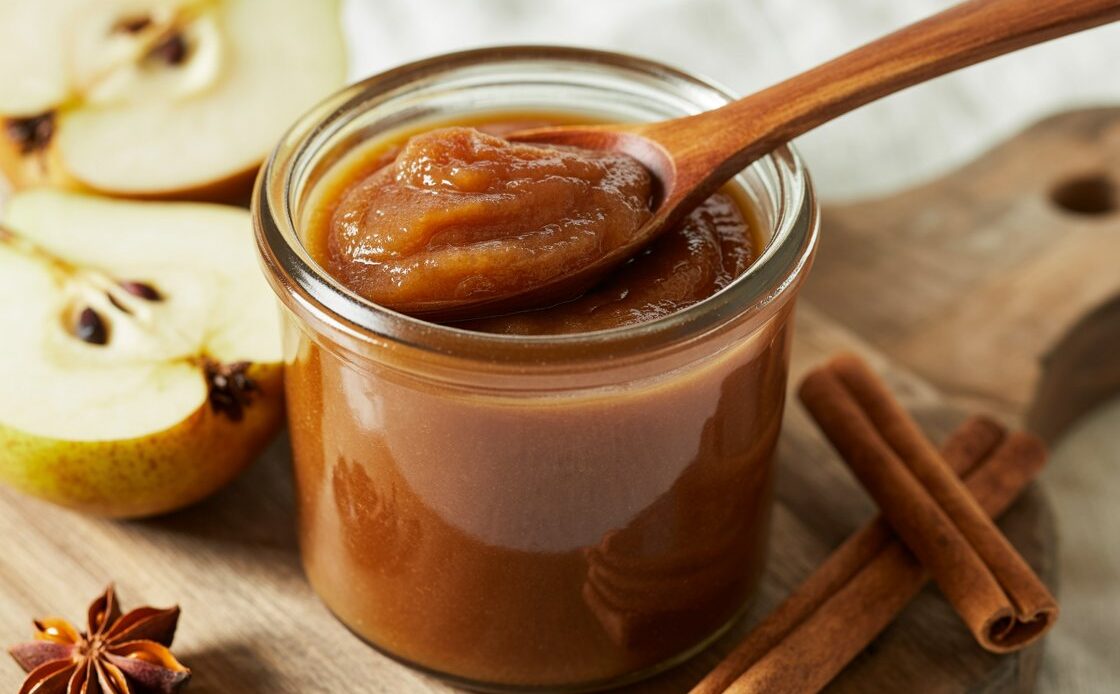
Pear butter stands out as a uniquely flavorful and smooth fruit spread that captures the essence of ripe pears in a way that jams and sauces often can’t match. What makes homemade pear butter so special is its rich texture and deep, concentrated sweetness achieved through slow cooking and careful preparation. Unlike other pear preserves, pear butter has a luxurious spreadability and complex flavor that transforms simple pears into a versatile kitchen staple. Understanding what sets pear butter apart will make your cooking experience more enjoyable and your results more satisfying.
Pear Butter vs. Pear Jam and Sauce — What’s the Difference?
Though pear butter, jam, and sauce all originate from the same fruit, they differ significantly in texture, cooking process, and best culinary uses. The table below highlights these differences to help you decide which pear preserve suits your taste and needs best:
| Aspect | Pear Butter | Pear Jam | Pear Sauce |
|---|---|---|---|
| Texture | Smooth, thick, spreadable | Chunky with fruit pieces | Thin and pourable |
| Cooking Time | Long, slow cooking to reduce liquid | Medium, boiled until gelled | Short, cooked until soft |
| Sweetness Level | Concentrated, balanced | Typically sweeter | Mild, often unsweetened |
| Best Uses | Spreads, baking, glazing | Toasts, desserts, fillings | Toppings, sides, baby food |
Why Pears? Choosing the Right Variety for Perfect Butter
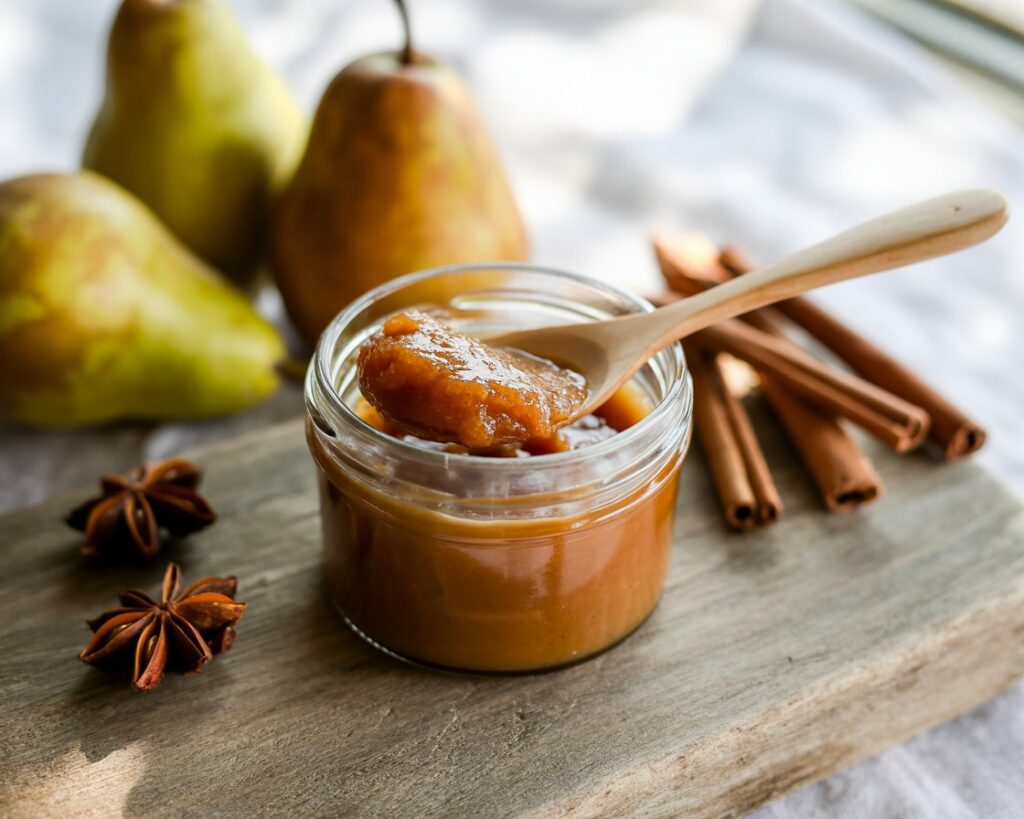
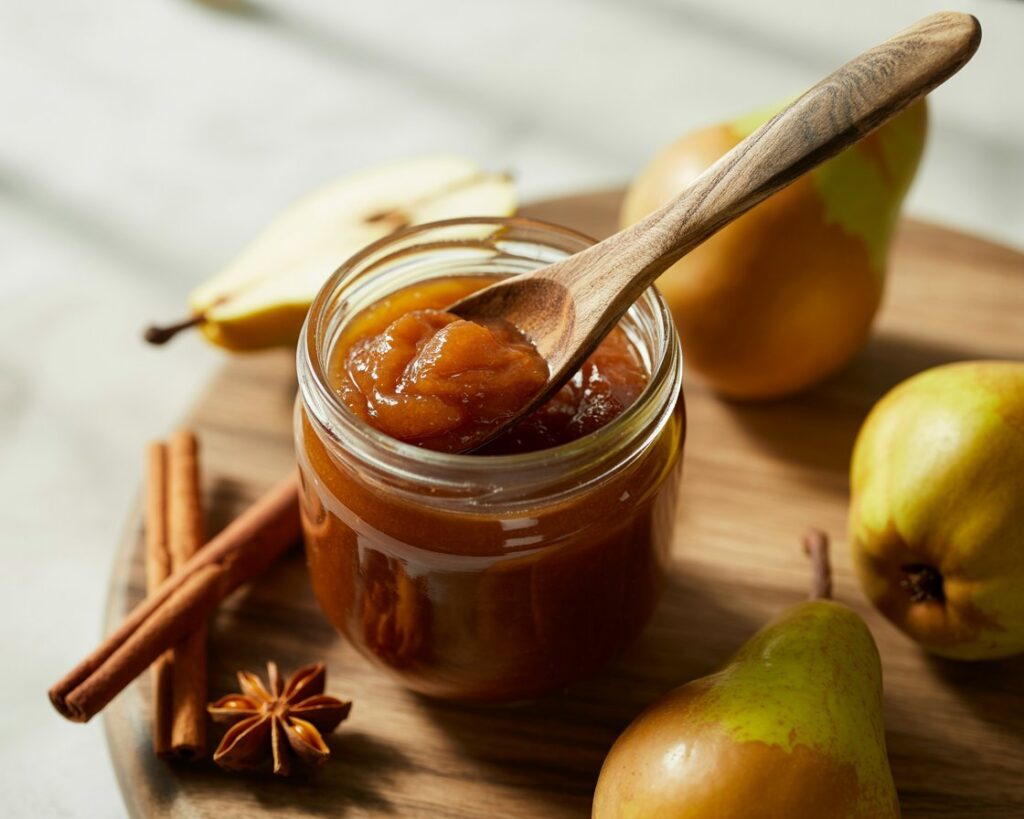
Not all pears are created equal when it comes to making pear butter. Selecting the right pear variety can make a noticeable difference in flavor and texture. Bartlett pears are juicy and sweet, offering a classic pear taste that breaks down beautifully during cooking. Bosc pears have a firmer flesh and a honey-like sweetness, making them excellent for a thicker, more aromatic butter. Anjou pears are mild and slightly tart, providing a balanced flavor that pairs well with spices. Experimenting with these varieties alone or in combination can help you tailor your pear butter recipe to your preferred taste profile.
The Science of Slow Cooking Fruit Butter
The secret behind the rich flavor of homemade pear butter lies in slow cooking. When pears are gently simmered over low heat for several hours, their natural sugars gradually caramelize, creating a deeper, more complex sweetness. This slow reduction also thickens the mixture, turning it from a watery fruit mash into a luscious, velvety spread. A fun fact is that this caramelization process not only enhances flavor but also gives pear butter its characteristic dark amber color. The patience required for slow cooking is rewarded with a product that bursts with concentrated pear essence and warming spice notes.
Flavor Boosters: Spices and Sweeteners That Elevate Pear Butter
Enhancing your pear butter recipe with the right spices and sweeteners can turn a simple spread into a gourmet delight. These flavor boosters complement the natural sweetness of pears and add layers of warmth and complexity that keep every bite interesting. Let’s explore the best options to bring out the full potential of your homemade pear butter.
Spices That Pair Perfectly with Pear Butter
Certain spices naturally harmonize with the delicate flavor of pears, enriching your homemade pear butter without overpowering it. Classic choices include cinnamon, which adds a warm, familiar sweetness; nutmeg, offering a subtle earthy depth; and cloves, which bring a fragrant, slightly spicy note. For a twist, consider alternatives like cardamom, which introduces a floral and citrusy aroma, or ginger, lending a gentle zing that brightens the overall flavor. Experimenting with these spices can help you discover your signature pear butter blend.
Sweetener Options: Not Just Sugar!
While traditional recipes often call for white sugar, there are several flavorful alternatives that can enhance your pear butter recipe in unique ways. Brown sugar adds a molasses richness that deepens the taste, while honey brings floral notes and natural sweetness with healthful benefits. Maple syrup imparts a smoky, woody flavor that pairs beautifully with fall spices. Each sweetener affects the final flavor profile differently, so choosing one depends on whether you want your pear butter to be richer, lighter, or more complex.
Interactive Flavor Combo Chart
To help you experiment, here’s a simple chart that pairs common spices with sweeteners and describes the expected flavor outcome:
| Spice | Sweetener | Flavor Notes |
|---|---|---|
| Cinnamon | Brown Sugar | Warm, rich, slightly caramelized |
| Nutmeg | Honey | Earthy, floral, subtly sweet |
| Cloves | Maple Syrup | Spicy, smoky, deep |
| Cardamom | Honey | Citrusy, aromatic, fresh |
| Ginger | Brown Sugar | Spicy, sweet, with a zing |
Use this chart as a starting point to create your own customized pear butter flavors that suit your palate or occasion.
The Pear Butter Making Process: Tips for Success Beyond the Basics

Making pear butter at home is rewarding, but a few smart techniques can make the process easier and improve your results. Beyond just following the recipe, these tips will help you prep efficiently, choose the best cooking method, and achieve the perfect texture for your homemade pear butter.
Prep Like a Pro: Peeling, Coring, and Cutting Pears Efficiently
Preparing pears can be time-consuming, but using the right tools and methods can speed things up. A good-quality vegetable peeler will help you remove the skin quickly without wasting too much fruit. For coring, consider an apple corer, which works well with pears too, removing the core cleanly in one go. When cutting, slice pears into uniform pieces to ensure even cooking. Another hack is to prep pears in batches and keep them in a bowl of water with a splash of lemon juice to prevent browning while you work. This simple step preserves freshness and color until you’re ready to cook.
Slow Cooker vs. Stovetop: Which Method Suits You?
Choosing the right cooking method can impact your time, texture, and flavor. Here’s a comparison table to help you decide:
| Method | Pros | Cons |
|---|---|---|
| Slow Cooker | Hands-off cooking, minimal stirring | Takes longer, requires planning ahead |
| Stovetop | Faster cooking time, more control | Requires constant attention and stirring |
Both methods produce delicious pear butter, so the best choice depends on your schedule and preference for hands-on cooking.
Blending Pear Butter to Your Desired Texture
Once your pears are cooked down, blending is key to achieving the right consistency. For a perfectly smooth pear butter, use a high-speed blender or food processor to puree the mixture until creamy. If you prefer a bit of texture, an immersion blender is ideal, allowing you to control how much of the fruit remains chunky. Keep in mind that blending while the mixture is warm is easier and results in a smoother finish. Adjusting texture lets you customize your pear butter recipe to suit different uses—from spreads to baking ingredients.
Storage, Canning & Shelf Life: Keeping Your Pear Butter Fresh
Proper storage is crucial to enjoy your homemade pear butter at its best for weeks or even months. Whether you’re canning for long-term preservation or storing for immediate use, understanding the right techniques will keep your pear butter fresh, flavorful, and safe to eat.
Canning Pear Butter Safely at Home
If you want your pear butter to last beyond a few weeks, canning is the way to go. Following USDA food safety guidelines is essential to prevent spoilage and foodborne illness. The key steps include sterilizing jars and lids, filling them hot to leave the correct headspace, and processing the jars in a boiling water bath for the recommended time. These precautions create a vacuum seal that locks in freshness and flavor. Always use tested recipes and check seals before storing.
Refrigerator and Freezer Storage Tips
For short-term storage, keep your pear butter in airtight containers in the refrigerator, where it will stay fresh for up to three weeks. If you want to enjoy your pear butter longer, freezing is a great option. Use freezer-safe jars or containers, leaving some space at the top to allow for expansion. When thawed, the texture may slightly change but the flavor remains delicious. Remember to label your containers with dates to track freshness.
Labeling and Organizing Your Homemade Jars
Keeping your pear butter jars neatly organized makes it easier to manage your homemade preserves. Consider fun DIY label ideas like chalkboard tags, decorative washi tape, or custom printed stickers to add a personal touch. You can also find printable label templates online that you can customize with your batch date and flavor notes. Organized and attractive labels not only help you keep track but also make your jars perfect for gifting.
Creative Ways to Use Pear Butter (Because It’s Not Just for Toast!)
Pear butter is incredibly versatile and goes far beyond just spreading on toast. Its rich, sweet flavor makes it an excellent ingredient to experiment with in both savory and sweet dishes. Discover some inspiring ideas to get the most out of your homemade pear butter in the kitchen and beyond.
Beyond the Spread: Cooking and Baking with Pear Butter
Using pear butter as a cooking ingredient can add unexpected depth and sweetness to your meals. Try glazing chicken with pear butter for a tender, flavorful dish that balances savory and sweet perfectly. In baking, pear butter can replace traditional jams or purees in muffins and quick breads, adding moisture and a nuanced fruit flavor. For a quick breakfast or snack, blend it into smoothies to introduce natural sweetness and creaminess without added sugar.
Gift-Worthy Pear Butter: Presentation and Packaging Tips
If you’re thinking of sharing your pear butter with friends and family, presentation matters. Choose attractive jars with tight-fitting lids, then decorate with ribbons, fabric covers, or rustic twine. Adding a handwritten note with your pear butter recipe or serving suggestions makes the gift personal and memorable. Small touches like a custom label or seasonal tags elevate your homemade spread from kitchen staple to cherished gift.
Pear Butter Pairings: What to Serve It With
Pairing pear butter with the right foods can elevate both flavor and presentation. Here’s a simple table of ideal pairings to inspire your next snack or appetizer:
| Food Item | Pairing Notes |
|---|---|
| Cheese Board | Pairs beautifully with sharp cheeses like aged cheddar or blue cheese |
| Crackers | Adds sweetness to crunchy, savory bites |
| Yogurt | Swirl into plain or vanilla yogurt for natural sweetness |
| Pancakes | Use as a topping instead of syrup for a fruity twist |
These pairings highlight the versatility of pear butter, making it a delightful addition to many dishes.
Troubleshooting Common Pear Butter Problems
Even experienced cooks can encounter hiccups when making pear butter. Understanding the common issues and how to fix them ensures your batch turns out delicious every time. Here’s a helpful guide to troubleshoot and rescue your homemade pear butter.
Why Is My Pear Butter Too Runny or Too Thick?
If your pear butter is too runny, it may not have cooked long enough for excess moisture to evaporate. Extending the cooking time while stirring frequently usually thickens it up. Conversely, if it’s too thick or pasty, it might have cooked too long or at too high a temperature, causing over-reduction. Adding a splash of water or apple juice and reheating gently can help loosen the texture. Achieving the perfect consistency is a balance, so keep testing during cooking.
Avoiding Crystallization and Over-Sweetness
Crystallization happens when too much sugar is added or the butter is cooked at too high a temperature. To prevent this, carefully measure your sweeteners and stir regularly during slow cooking. Using alternative sweeteners like honey or maple syrup can reduce the risk of crystallization. Avoid over-sweetening by tasting your pear butter as it cooks and adjusting gradually. A subtle sweetness lets the natural pear flavor shine.
When Your Pear Butter Doesn’t Set Properly
If your pear butter remains runny or refuses to thicken, don’t despair—it can still be delicious. Use it as a flavorful sauce for pancakes, ice cream, or roasted meats. Alternatively, blend it into smoothies for natural sweetness and texture. If you want to fix the set, return it to the pot and cook gently to reduce liquid further. Adding a small amount of pectin or a natural thickener like chia seeds can also help achieve a better set.
Mastering the Perfect Pear Butter Recipe at Home
Making pear butter at home is a rewarding way to enjoy the rich, sweet flavors of pears year-round. By understanding the unique qualities of pears, experimenting with spices and sweeteners, and mastering the cooking and storage techniques, you can create a delicious, versatile spread that’s far more than just toast topping. Whether you’re a kitchen novice or a seasoned cook, this pear butter recipe offers plenty of room to get creative and make it your own. So grab some ripe pears, follow these tips, and start crafting your perfect batch today!
