Red velvet ice cream is the perfect fusion of creamy indulgence and the rich, velvety flavor you love from the iconic red velvet cake. Whether you’re a fan of the classic dessert or simply looking for a unique twist on your regular ice cream, this recipe will quickly become your new favorite. Imagine the creamy texture of smooth ice cream paired with the tangy bite of cream cheese and the deep notes of cocoa—sounds delicious, right?
In this post, we’ll dive into everything you need to know about making your own red velvet ice cream at home, including tips for customizing the flavor, serving ideas, and even lighter, healthier versions. Get ready to treat yourself to a dessert that’s as fun to make as it is to eat!
The Allure of Red Velvet – Why It’s More Than Just Cake
Red velvet is not just a cake; it’s a flavor sensation that has captured the hearts of dessert lovers everywhere. From its vibrant red color to the perfect balance of cocoa and cream cheese, red velvet offers a taste experience like no other. But why has this cake become such a popular flavor across different desserts? When turned into ice cream, red velvet brings a luxurious, creamy twist to the familiar cake flavor, creating a frozen treat that’s equally as indulgent and visually striking. Let’s explore the iconic flavors that make red velvet so special, and why red velvet ice cream might just be your next obsession.
The Iconic Red Velvet Flavor: A Deep Dive
Red velvet cake stands out with its unique combination of subtle chocolate flavor, tangy cream cheese, and a smooth vanilla undertone. This distinctive flavor profile creates a perfect balance that makes red velvet irresistible. The rich cocoa flavor is not overpowering, while the cream cheese adds a delightful tang, which sets red velvet apart from typical chocolate or vanilla desserts. When translated into ice cream, these layers of flavor come together to form a creamy, dreamy dessert experience that feels indulgent yet light.
Red Velvet Ice Cream: The Perfect Marriage of Cake and Cream
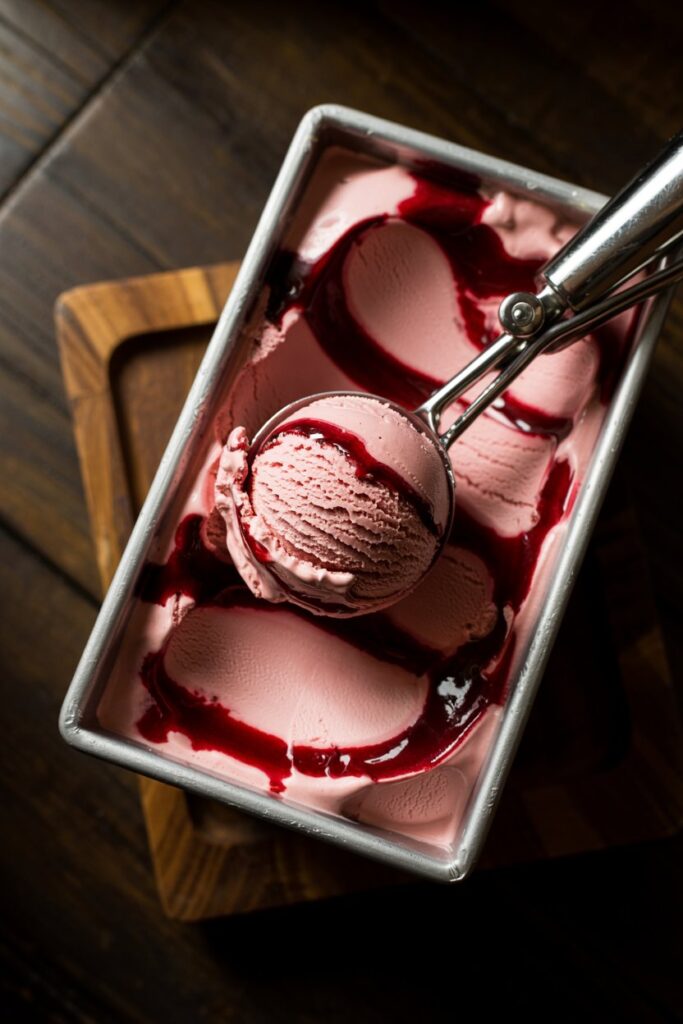
Red velvet ice cream takes the beloved cake flavor and elevates it into a frozen treat. This dessert combines the best of both worlds: the soft, smooth texture of ice cream and the rich flavor profile of red velvet cake. The appeal lies in how the creaminess of the ice cream complements the tangy richness of the cream cheese and the subtle cocoa, making each bite a perfect harmony. Unlike traditional chocolate or vanilla, this ice cream offers a unique twist, making it a must-try for anyone seeking a more exciting and decadent frozen treat.
Making Red Velvet Ice Cream at Home – It’s Easier Than You Think!
Making red velvet ice cream at home is simpler than you might think, even without an ice cream maker. Whether you’re a seasoned home baker or a beginner in the kitchen, this indulgent dessert can be yours in just a few steps. With a little creativity and a few basic ingredients, you can achieve a creamy, rich ice cream that rivals any store-bought version. Let’s break down the process so you can make this dessert from the comfort of your home.
No Ice Cream Maker? No Problem!
Don’t have an ice cream maker? No worries! You can still make delicious, creamy red velvet ice cream with just a few ingredients and a freezer. Here’s how:
- Whisk Together the Base: Mix your heavy cream, sweetened condensed milk, and vanilla extract in a large bowl. This forms the base for your ice cream. The sweetened condensed milk adds richness, and the heavy cream gives it that smooth, creamy texture.
- Add the Red Velvet Flavor: Stir in your cocoa powder, cream cheese, and red food coloring to give your ice cream the iconic red velvet flavor and color. Be sure to blend everything thoroughly to avoid lumps.
- Freeze and Stir: Pour the mixture into a freezer-safe container and cover tightly. Place it in the freezer, and every 30 minutes for the first 2-3 hours, stir the ice cream to break up any ice crystals. This step helps achieve a smoother texture without an ice cream maker.
- Let it Set: After a few hours of stirring and freezing, your ice cream will be ready to enjoy!
With this method, you don’t need fancy equipment—just a bit of patience and a love for dessert.
Red Velvet Ice Cream Without the Fuss: 3 Simple Hacks
Even if you’re a kitchen newbie, there are a few simple tricks you can use to elevate your red velvet ice cream and make it taste like it came from an artisanal ice cream shop. Here are three hacks to help you get that creamy, rich texture and vibrant color:
- Use High-Quality Cocoa Powder: The cocoa powder you choose can make a big difference. Opt for a high-quality cocoa powder for a deeper, more complex flavor. It’ll give your ice cream that smooth, rich chocolate taste that complements the tang of the cream cheese.
- Cream Cheese for Extra Smoothness: Red velvet is known for its cream cheese frosting, so don’t skip the cream cheese in your ice cream! Incorporating a bit of cream cheese into the base will add a tangy richness and make the ice cream even creamier.
- Go Natural with Red Food Coloring: For the bold red color that red velvet is famous for, try using natural red food coloring, such as beet juice or natural plant-based food dyes. This keeps your ice cream vibrant without relying on artificial additives.
These simple tricks will elevate your homemade ice cream and give it that perfect texture and flavor everyone will love.
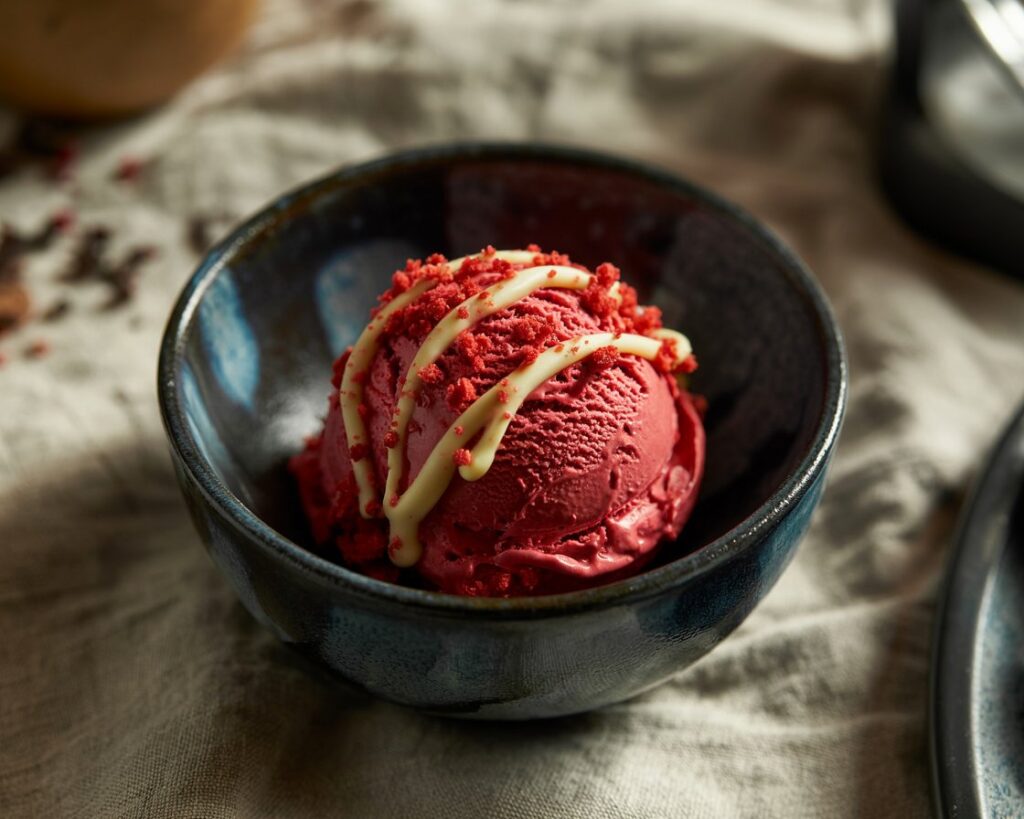
Fun Ways to Serve Red Velvet Ice Cream: More Than Just in a Cone
Red velvet ice cream doesn’t just belong in a cone. It’s a versatile treat that can be served in many fun and creative ways, elevating your dessert game to new heights. From sundaes to cakes, there are countless ways to enjoy this creamy red velvet masterpiece. Let’s explore a few delicious serving ideas that will impress your guests and satisfy your sweet tooth.
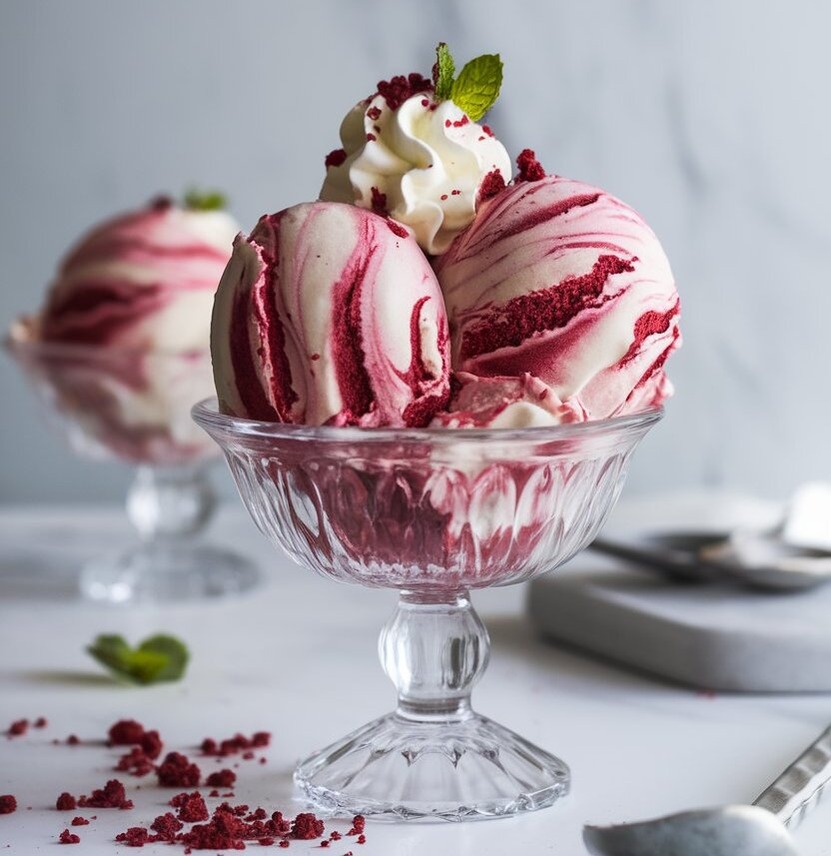
Red Velvet Ice Cream Sundae: Layer It Up
Why settle for just a scoop when you can create a decadent red velvet ice cream sundae? Layering the ice cream with toppings adds texture and brings out even more flavor. Here’s how to do it:
- Start with a Generous Scoop: Begin with a scoop of your rich ice cream in a tall glass or dessert bowl.
- Add Crunchy Toppings: Layer in crushed cookies, such as chocolate wafer cookies or graham crackers, to add a satisfying crunch. You can also try using crumbled red velvet cake pieces for an extra cake-like experience.
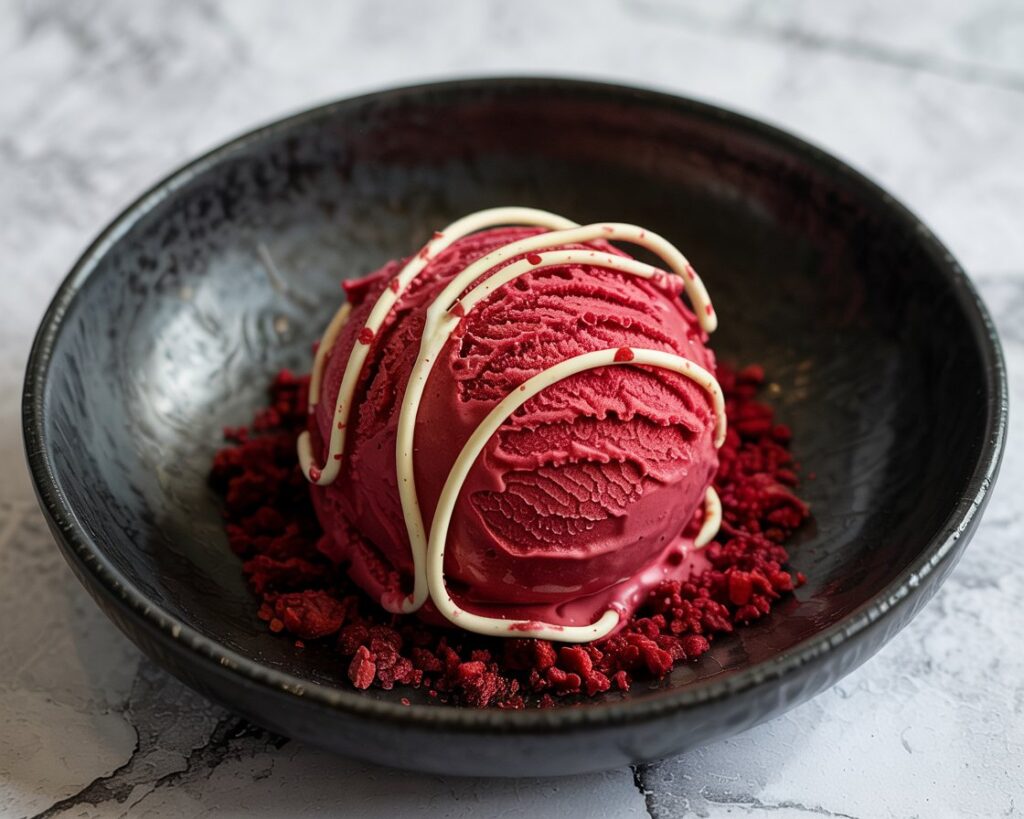
- Whipped Cream and Syrup: Top it off with a dollop of fresh whipped cream and a generous drizzle of chocolate or caramel syrup. For added richness, a light drizzle of cream cheese frosting works wonders too.
- Sprinkles and Extras: Finish with colorful sprinkles or edible glitter for a touch of fun and visual appeal. You can also add fresh berries like strawberries or raspberries to complement the flavor of red velvet.
This layered sundae creates a delightful mix of creamy, crunchy, and tangy, offering a variety of textures and flavors that will leave everyone coming back for more.
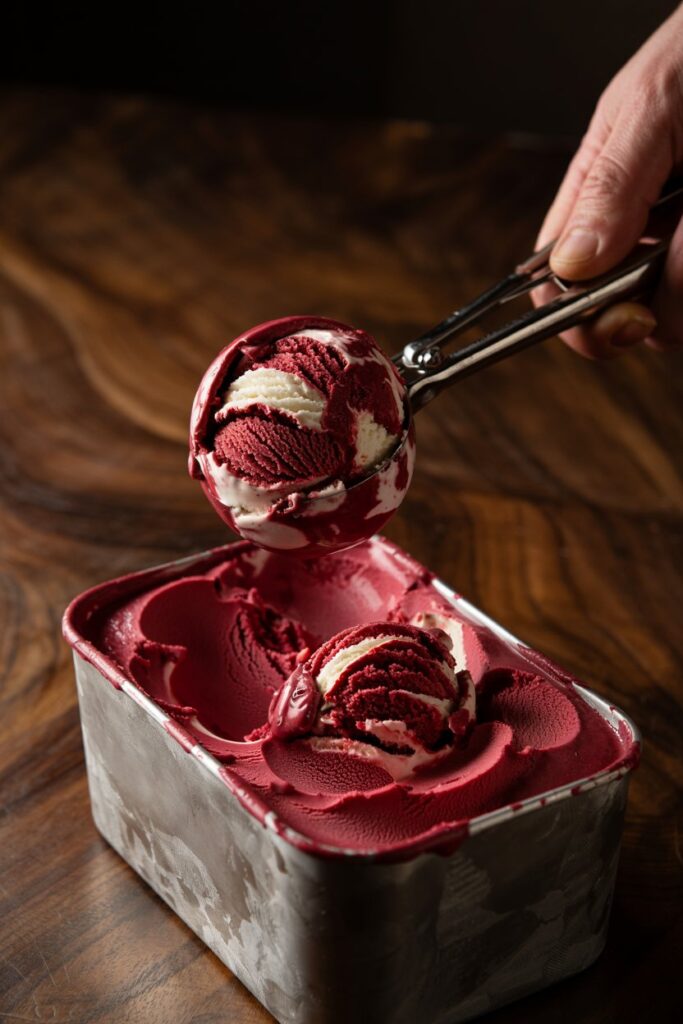
Red Velvet Ice Cream Cake: The Best of Both Worlds
If you’re looking for a dessert that’s truly show-stopping, why not combine this ice cream with a classic red velvet cake? This creative twist takes the best elements of both desserts and fuses them into one irresistible treat.
- Start with a Red Velvet Cake Base: Bake a simple red velvet cake and allow it to cool completely. Cut it into layers that will serve as the base for your ice cream.
- Layer with Red Velvet Ice Cream: Instead of frosting, spread a generous layer of your homemade ice cream between the cake layers. The ice cream will melt slightly and blend into the cake, creating a creamy texture that pairs perfectly with the moist cake.
- Freeze for Perfection: Once you’ve assembled your layers, freeze the cake and ice cream combination until it firms up. You can also add a layer of cream cheese frosting between the layers for that signature red velvet flavor.
- Serve and Impress: When ready to serve, slice it up just like a traditional cake. This combination of ice cream and cake is sure to be a crowd-pleaser at birthdays, special occasions, or even just a family dessert night.
By combining the flavors and textures of red velvet cake and ice cream, you’ll have a dessert that’s visually stunning and absolutely delicious—truly the best of both worlds!
Healthier Versions of Red Velvet Ice Cream: Indulgence with a Twist
Who says indulgent desserts can’t be a little lighter? Red velvet ice cream can be made healthier without sacrificing flavor. Whether you’re watching your calorie intake or following a vegan lifestyle, there are plenty of ways to enjoy this creamy, rich treat while still keeping it on the healthier side. Let’s explore some alternatives to make your this ice cream indulgent with a twist.
Red Velvet Ice Cream That’s Light on Calories, Big on Flavor
If you’re looking to enjoy red velvet ice cream without the added calories, there are some easy swaps to make it lighter while still keeping that signature red velvet taste. Here’s how to lighten things up:
- Coconut Milk Instead of Heavy Cream: Instead of using heavy cream, try using coconut milk or almond milk. Both offer a creamy texture without the extra fat and calories. Coconut milk, in particular, adds a subtle flavor that pairs nicely with the red velvet’s cocoa and cream cheese notes.
- Sugar Substitutes: Replace regular sugar with natural alternatives like stevia, monk fruit sweetener, or erythritol. These sugar substitutes allow you to reduce the calorie count while keeping the sweetness in check. Just be sure to choose one that suits your taste preference, as each one can slightly alter the flavor profile.
- Greek Yogurt for Creaminess: Adding Greek yogurt in place of some of the cream or milk gives the ice cream a tangy flavor and a creamy texture, while also boosting the protein content.
- Smaller Portions: Another simple trick is to enjoy smaller portions. By serving a small scoop, you can still indulge in this rich dessert without going overboard on calories.
With these easy tweaks, you can still have your ice cream and eat it too—without the guilt.
Vegan Red Velvet Ice Cream – Creamy, Dreamy, and Dairy-Free
For those following a vegan or dairy-free diet, red velvet ice cream doesn’t have to be off-limits. With a few substitutions, you can enjoy a vegan-friendly version that’s just as creamy and delicious. Here’s how to make a dreamy, dairy-free ice cream:
- Non-Dairy Milk: Swap out cow’s milk for non-dairy milk like almond milk, coconut milk, or cashew milk. These alternatives are perfect for achieving that rich, creamy texture while keeping it plant-based.
- Vegan Cream Cheese: To keep the signature tangy flavor of this ice cream, use vegan cream cheese. It’s made from plant-based ingredients but provides the same creamy texture and flavor that traditional cream cheese does.
- Natural Sweeteners: Like the lighter version, you can also use natural sweeteners like agave syrup or maple syrup in place of refined sugar. These alternatives not only reduce the sugar content but also enhance the overall flavor with their mild sweetness.
- Coconut Cream for Extra Creaminess: If you’re looking for an even richer texture, add some coconut cream. It’s thicker than coconut milk and gives the ice cream an ultra-smooth consistency.
This vegan version of the ice cream still maintains the deep flavors of the classic dessert, with none of the dairy. It’s a perfect choice for those avoiding animal products without compromising on flavor.
Red Velvet Ice Cream for Special Occasions: A Show-Stopping Treat
Red velvet ice cream isn’t just an everyday indulgence—it’s a perfect dessert for special occasions. Whether you’re celebrating a romantic evening or hosting a fun party, this vibrant and creamy treat is sure to impress. Let’s explore how this ice cream can take your celebrations to the next level.
Perfect for Valentine’s Day: A Romantic Dessert Idea
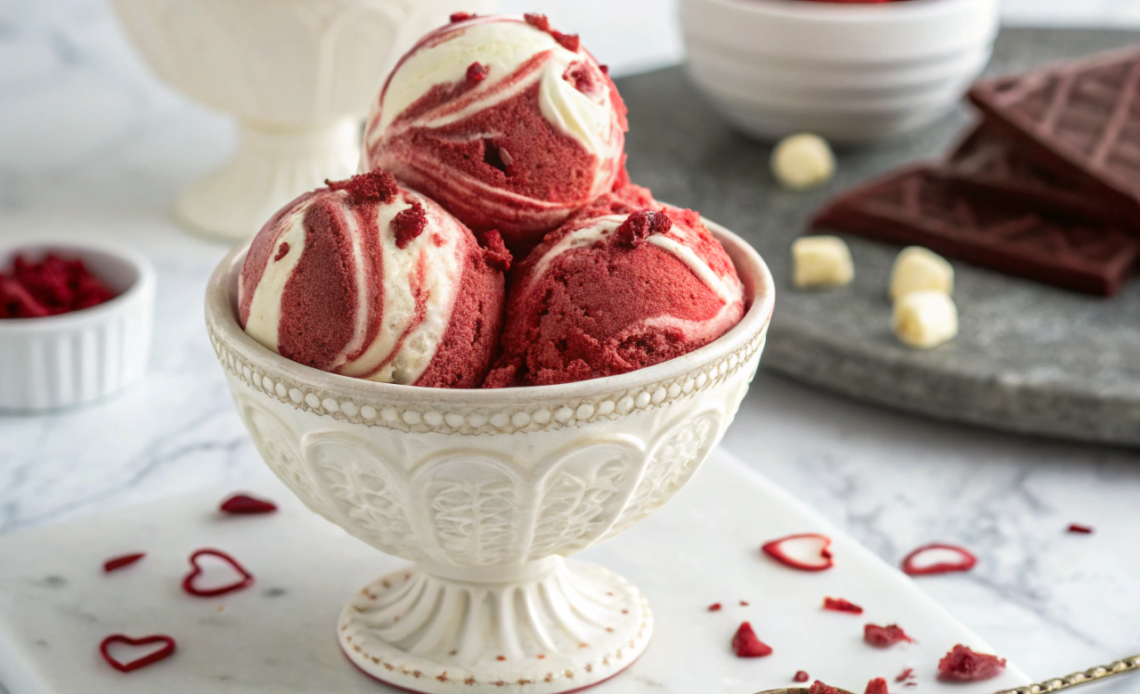
When it comes to romantic occasions like Valentine’s Day, this ice cream is the perfect dessert choice. Its rich red color is inherently associated with love, and its creamy texture makes it feel like a luxurious treat. Serve it in heart-shaped bowls for added charm, and pair it with delicate additions that enhance the dessert’s elegance.
- Chocolate-Dipped Strawberries: Serve your ice cream alongside chocolate-dipped strawberries, which add a sweet and slightly tart contrast. The combination of the smooth, creamy ice cream and the decadent, fruity strawberries makes for a wonderfully romantic pairing.
- Roses and Candles: For extra romance, create a beautiful presentation by placing your ice cream near fresh roses or candles. This simple touch elevates the dessert and makes it feel like a luxurious indulgence.
- Red Velvet Ice Cream Sandwiches: For a fun twist, consider making these cream sandwiches using soft red velvet cookies. This portable treat is perfect for a casual yet romantic celebration.
This ice cream is an elegant and delicious choice for a Valentine’s Day treat that will make the evening feel extra special.
Hosting a Party? Serve Red Velvet Ice Cream with Style
Red velvet ice cream is also a hit when you’re hosting a party. Its vibrant color and rich flavor make it a showstopper at any celebration. Here are a few ways to serve it in style:
- Red Velvet Ice Cream Float: Serve this ice cream in soda or sparkling water to create a fun and fizzy red velvet float. This sweet, refreshing treat adds a playful touch to your party while keeping the red velvet theme intact.
- Dessert Bar with Toppings: Set up a red velvet ice cream dessert bar where guests can customize their own bowls. Offer a variety of toppings like crushed cookies, sprinkles, whipped cream, and syrup. This interactive element adds fun and allows everyone to tailor their dessert to their liking.
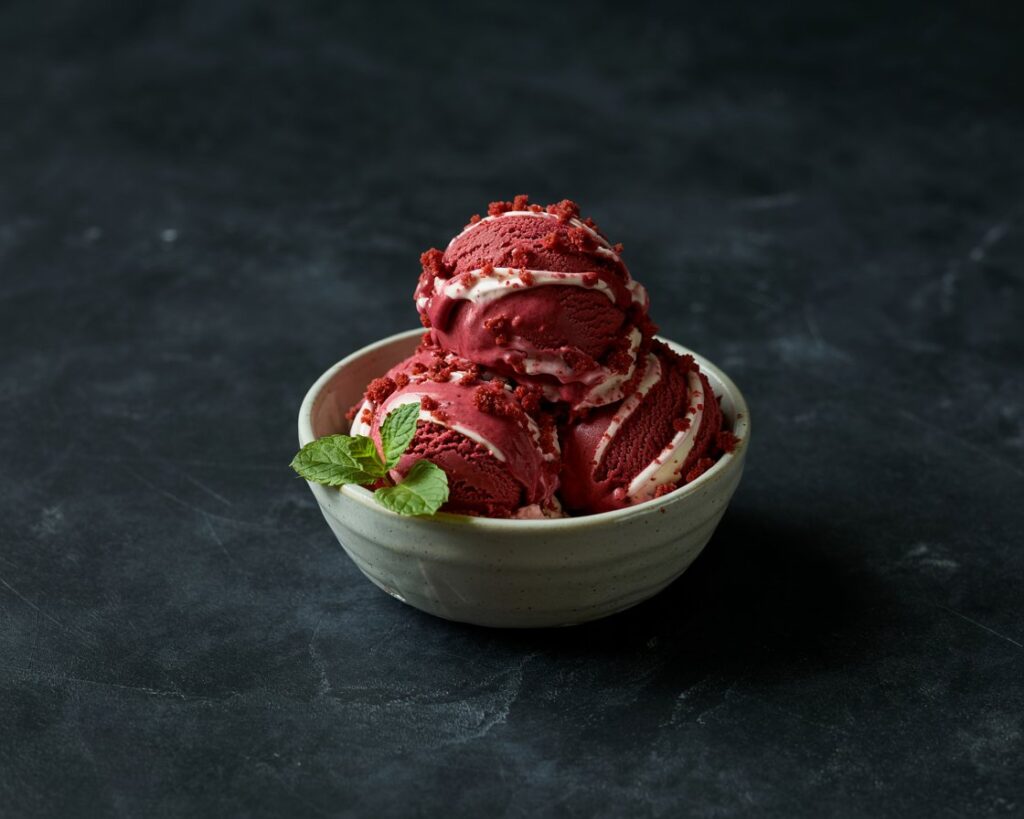
- Mini Sundaes in Glass Cups: Serve individual mini sundaes in elegant glass cups, topped with whipped cream, a drizzle of chocolate syrup, and perhaps a few red velvet cake crumbles. These individual servings make for a sophisticated and convenient option for guests.
With these creative ideas, this ice cream can easily be the star of your next party or special gathering, impressing guests with both its beauty and flavor.
Red Velvet Ice Cream: A Deliciously Creative Twist on a Classic Dessert
Red velvet ice cream is the perfect way to indulge in a classic dessert with a modern, frozen twist. Whether you’re making it at home or serving it at a special event, this treat offers a rich, creamy experience that’s sure to satisfy any sweet tooth. From romantic Valentine’s Day celebrations to casual parties, there are countless ways to enjoy this luxurious ice cream. And don’t forget, it pairs wonderfully with other desserts—try it alongside a decadent chocolate lava cake for a truly indulgent treat.
By using simple substitutions, you can even make lighter or vegan versions of this ice cream, so everyone can enjoy it. No matter how you serve it, this ice cream is bound to become a show-stopping dessert in your recipe collection.
