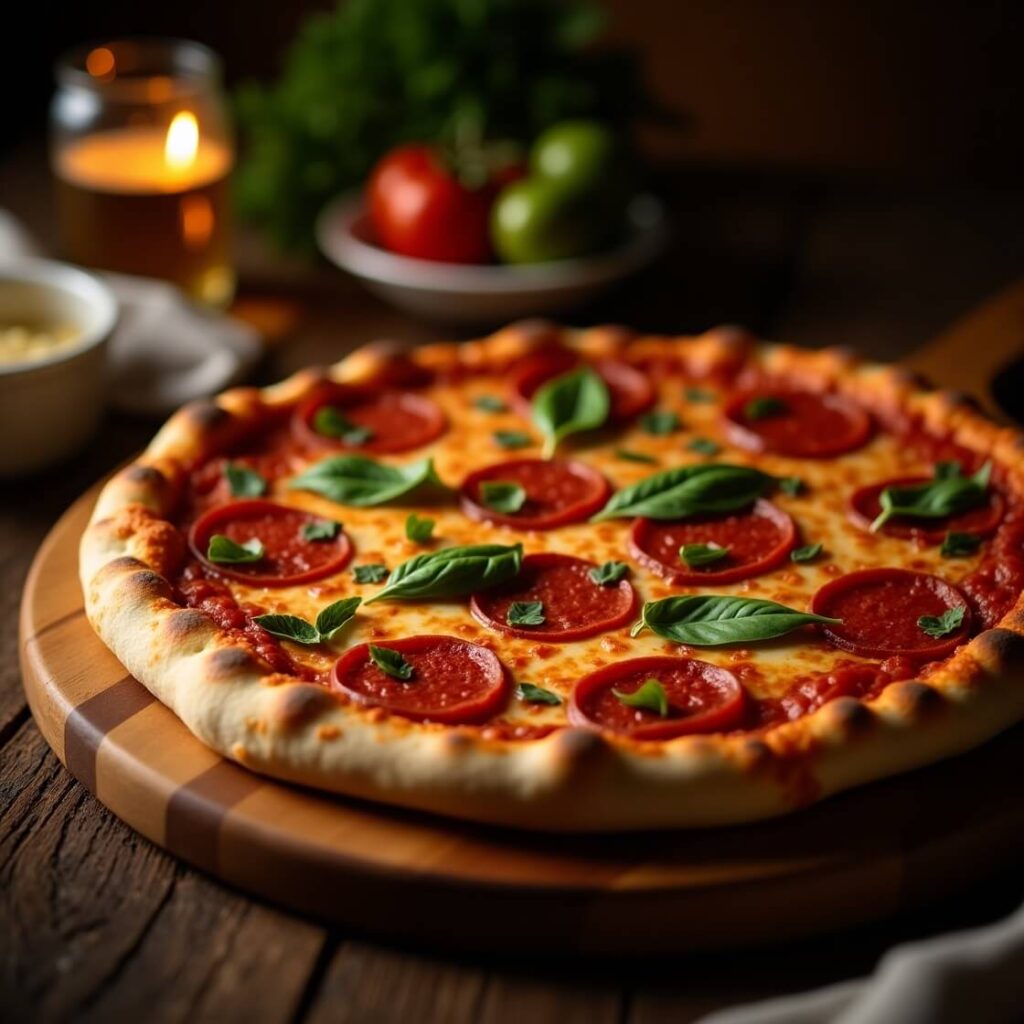
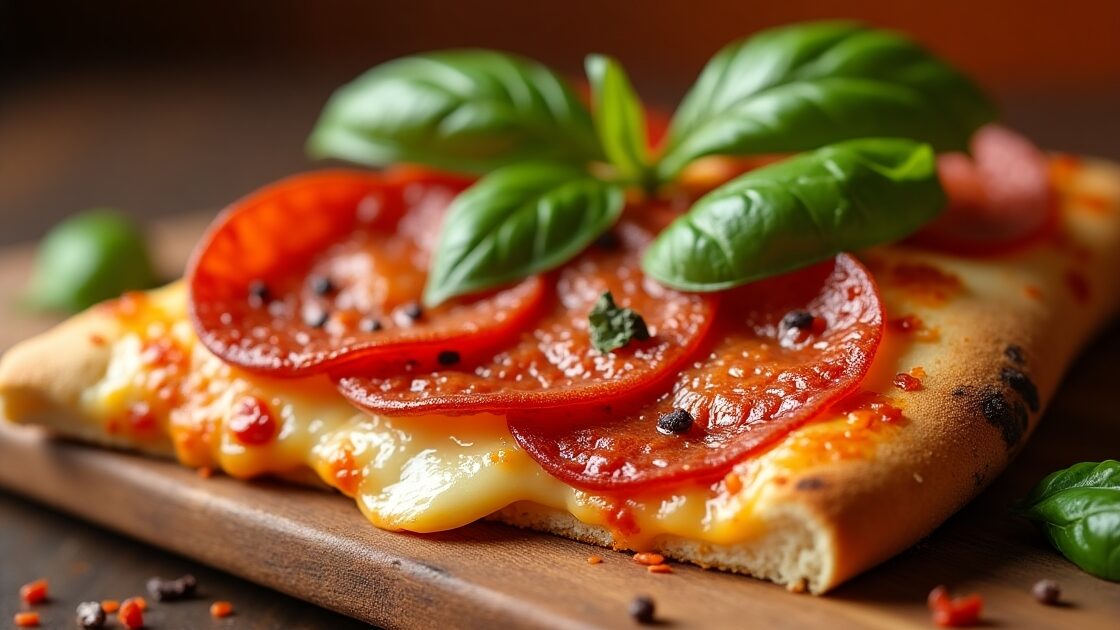
- This pizza dough recipe delivers a perfect balance of chewiness and crispiness, ideal for any topping you desire.
- Simple ingredients and easy steps make it perfect for your next homemade pizza night!
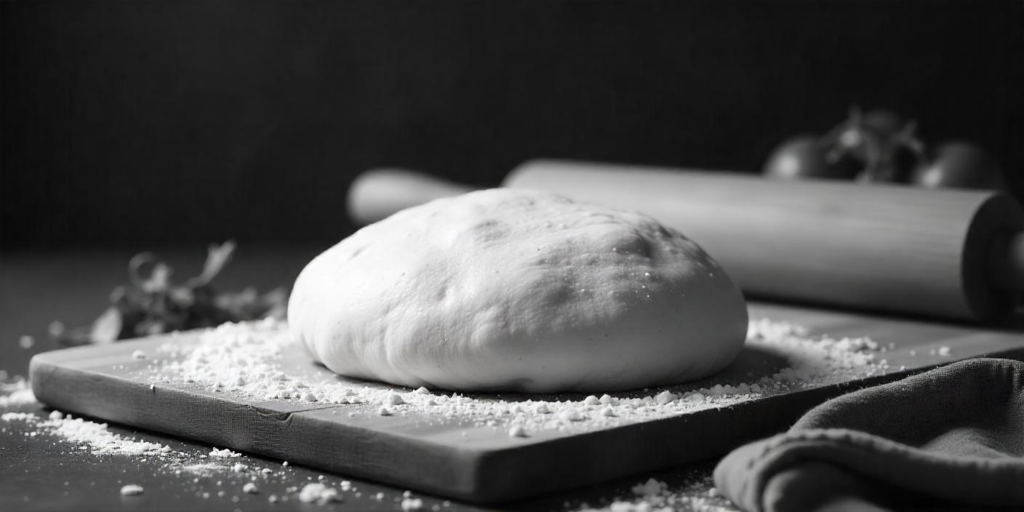
Making pizza dough from scratch is a rewarding experience that guarantees a tastier, more personalized pizza. When you make your own dough, you control every aspect of the process, ensuring that the end result is exactly to your liking. From the perfect texture to the ideal balance of flavors, homemade pizza dough is the foundation of an exceptional pizza. In this comprehensive guide, we’ll take you through every essential step of creating the perfect pizza dough—from the ingredients to the final baking. Whether you’re a beginner or an experienced home cook, this pizza dough recipe will help you create a crust that is light, chewy, and crispy, with a golden-brown finish that is nothing short of perfection.
Essential Ingredients for Your Pizza Dough Recipe
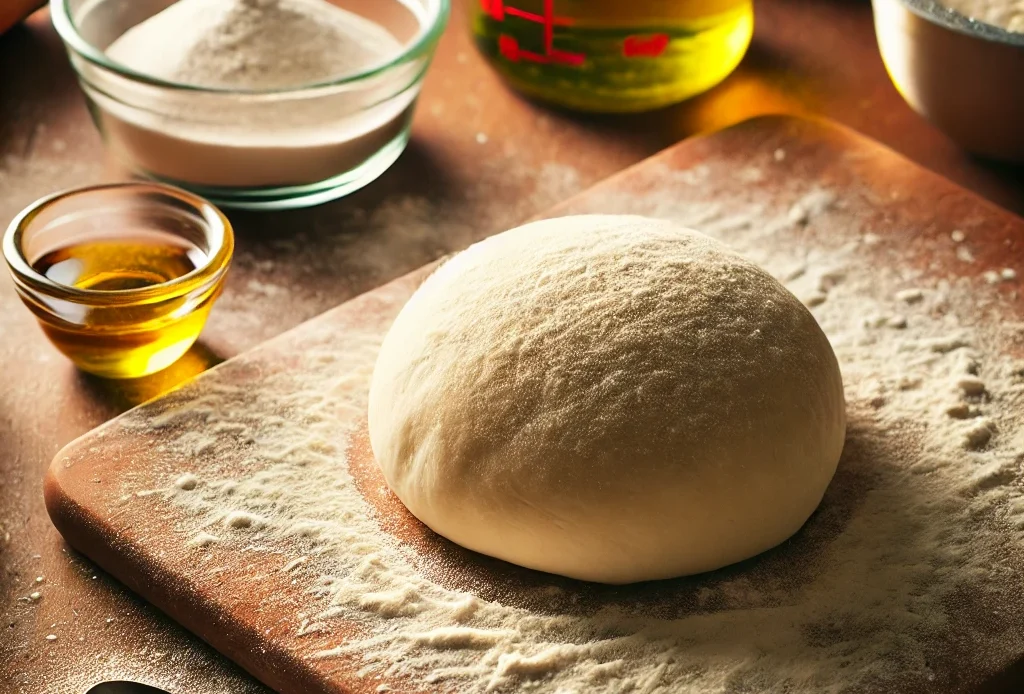
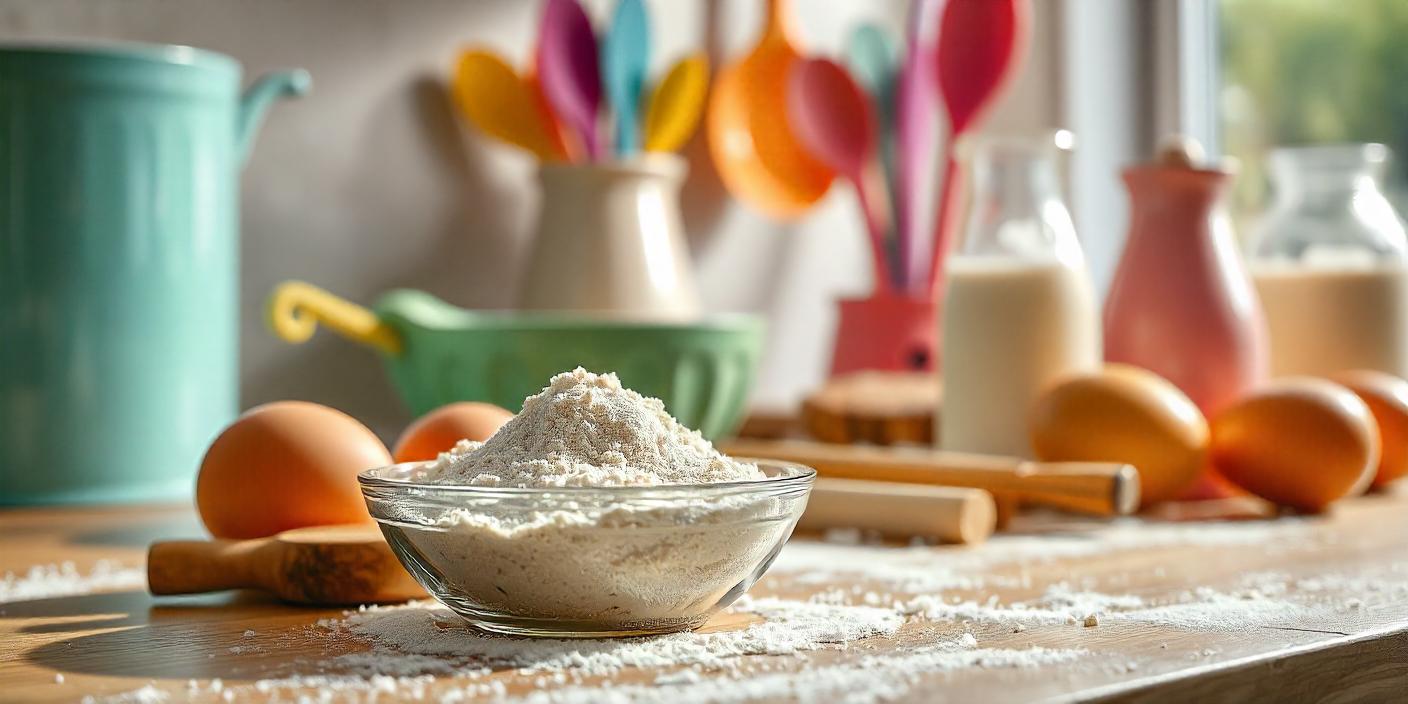
The first step in making pizza dough is gathering the right ingredients. You don’t need many—just a few key elements come together to make the perfect base. Each ingredient plays a crucial role in creating the texture and flavor profile of your dough. Here’s what you’ll need:
- 2 ½ cups of all-purpose flour
- 1 teaspoon of salt
- 1 tablespoon of sugar
- 1 packet (2 ¼ teaspoons) of active dry yeast
- 1 cup of warm water
- 1 tablespoon of olive oil (plus extra for greasing)
These simple yet essential ingredients combine to form the dough’s structure, flavor, and texture. By using the right proportions, you ensure that your dough has the perfect balance of chewiness and crispiness.
Making pizza dough at home is like playing with playdough—but tastier and with way more cheese!
Feast Recipe
Why You Should Use Active Dry Yeast
What Is Active Dry Yeast?
Active dry yeast is the most commonly used type of yeast for pizza dough. It’s widely available in most grocery stores and provides consistent and reliable results. Yeast is the magical ingredient that makes your dough rise, giving it that light and airy texture. Without yeast, you wouldn’t get the chewy bite or the perfect rise needed for an excellent pizza crust.
Benefits of Active Dry Yeast
Active dry yeast is easy to use, stores well, and yields consistent results every time. Make sure to store it in a cool, dry place, and it will be ready whenever you need it for your next pizza night.
Activate Your Yeast: Key to Perfect Pizza Dough
To start your dough, you must activate the yeast. This is a crucial step in ensuring that your dough rises properly. Begin by combining warm water (around 110°F) with sugar in a small bowl or measuring cup. Sprinkle the active dry yeast over the top of the water, making sure it’s evenly distributed. Let the mixture sit for about 5-10 minutes. During this time, the yeast will begin to bloom and foam, showing you that it’s alive and ready to go.
The warm water is essential for activating the yeast, as it provides the right environment for the yeast to start feeding on the sugar and releasing carbon dioxide. This gas is what causes the dough to rise. Once you see the frothy layer forming, you know that your yeast is activated and ready to incorporate into the dough.
Choosing the Right Flour for Pizza Dough
The type of flour you use for your pizza dough can significantly impact the texture and overall quality of your crust. While all-purpose flour works perfectly fine, different types of flour offer unique characteristics that can elevate your pizza dough.
- All-purpose flour: This is the most common choice for pizza dough. It provides a good balance between chewiness and crispiness, making it a reliable option for most home cooks.
- Bread flour: If you prefer a chewier, crisper crust, bread flour is an excellent choice. It has a higher protein content, which helps develop more gluten, leading to a dough that’s more elastic and has a firmer texture.
- 00 flour: For those aiming for a more authentic Neapolitan-style pizza, 00 flour is the gold standard. This finely milled flour, commonly used in Italy, results in a dough that’s tender, light, and smooth. It’s perfect for high-heat pizza ovens, but it also works well in a standard home oven.
Each type of flour offers a slightly different result, so experiment to find your ideal combination. You can even blend different flours to achieve the perfect balance.
The Importance of Salt in Pizza Dough
Salt is not just for flavor—it plays a critical role in controlling the fermentation process of your dough. The salt helps regulate the yeast activity, slowing it down slightly to ensure a steady rise. This slow rise gives the dough time to develop more complex flavors.
In addition to controlling fermentation, salt enhances the flavor of the dough, balancing the sweetness of the sugar and the subtle bitterness of the yeast. Without salt, your dough could taste flat or overly yeasty.

The Role of Sugar in Pizza Dough
Sugar serves two main purposes in pizza dough. First, it feeds the yeast, helping it activate and produce the carbon dioxide needed for the dough to rise. Second, sugar contributes to the browning of the dough during baking, giving the crust that golden, appetizing color.
If you prefer a slightly sweeter dough, you can increase the sugar by a teaspoon or two. However, it’s important to remember that pizza dough should not be overly sweet, as it could interfere with the savory toppings.
Olive Oil: Adding Richness and Flavor
Olive oil not only adds a subtle richness and flavor to your dough but also helps make the dough more pliable and easier to work with. The oil contributes to the dough’s tenderness and prevents it from becoming too tough as it rises and bakes. It also aids in achieving a crisp, golden crust.
For the best flavor, use extra virgin olive oil, which has a richer taste compared to regular olive oil. You’ll also want to reserve some extra olive oil for greasing the bowl and your hands during the kneading process.
Mixing the Dough: The First Step to Kneading
Once your yeast has been activated and your ingredients are ready, it’s time to mix the dough. In a large bowl, combine the flour, salt, and sugar. Create a small well in the center of the dry ingredients, and pour in the activated yeast mixture and olive oil.
Stir the ingredients together with a spoon or your hands until the dough begins to come together. You might find the dough a bit sticky at first, but don’t worry—that’s normal. Once the dough starts forming, transfer it to a floured surface to begin the kneading process.
Kneading the Dough: The Secret to Elasticity
Kneading is one of the most crucial steps in making pizza dough. It’s what develops the gluten network that gives the dough its structure and elasticity. Knead the dough for about 8-10 minutes, pushing it away from you with the heel of your hand, folding it over, and turning it. Repeat this motion until the dough becomes smooth and elastic.
If the dough is too sticky, add small amounts of flour as needed. However, try not to add too much flour, as this could make the dough too stiff. The goal is to achieve a dough that’s soft and slightly tacky but not overly sticky.
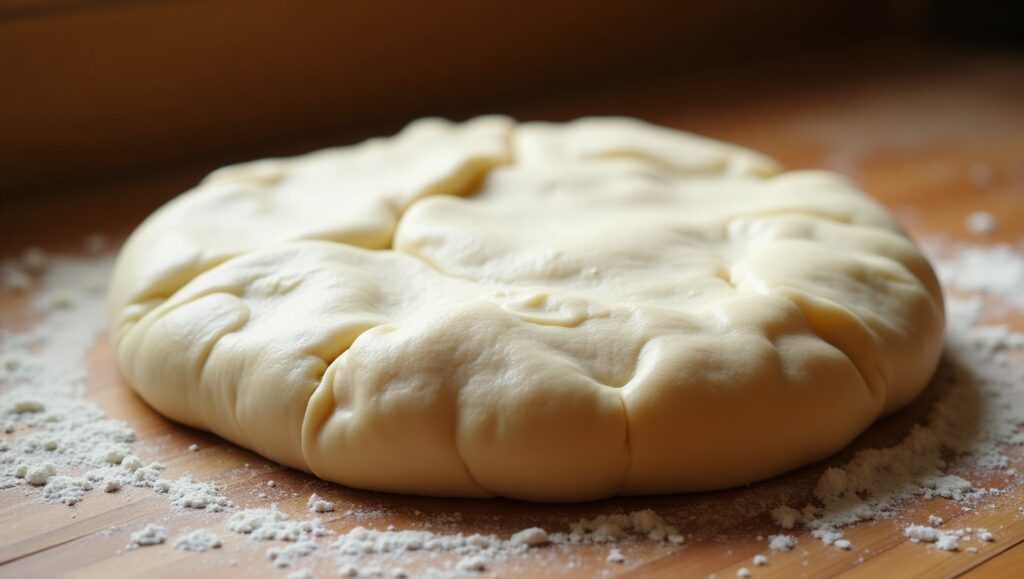
The First Rise: Letting the Dough Rest
Once you’ve kneaded the dough, shape it into a ball and place it in a lightly oiled bowl. Cover the bowl with a clean towel or plastic wrap to prevent the dough from drying out. Let the dough rise in a warm, draft-free area for about 1 to 1 ½ hours, or until it has doubled in size.
During this resting period, the yeast continues to work, creating air pockets in the dough that contribute to its lightness and fluffiness. The longer you let the dough rise, the more flavor it will develop.
Punching Down the Dough: Preparing for the Second Rise
After the dough has risen, it’s time to punch it down. Gently press your fist into the dough to release the built-up air bubbles. This step helps redistribute the yeast and prevents over-expansion of the dough during baking.
Once punched down, shape the dough into a ball again, cover it, and let it rise for another 30 minutes. This second rise helps to further enhance the dough’s texture and flavor.
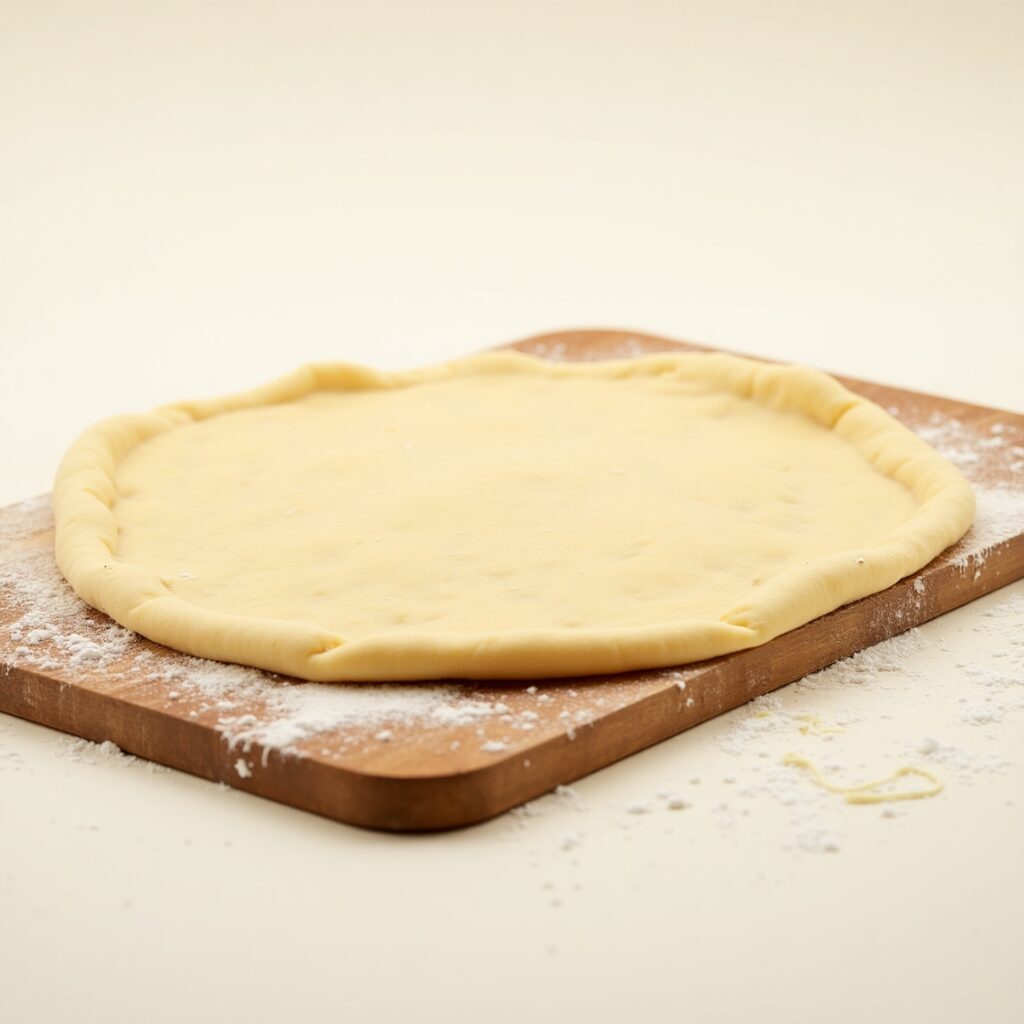
Shaping Your Pizza Dough: Preparing for Toppings
Now that your dough is perfectly risen and ready, it’s time to shape it. Lightly flour your work surface and roll out the dough using a rolling pin or stretch it by hand, depending on your preference. Aim for an even thickness, but don’t worry if it’s not perfectly round—each pizza is unique.
If you like a thinner crust, roll the dough out to about 10-12 inches in diameter. For a thicker crust, keep it around 8-10 inches. Once shaped, transfer the dough to a pizza stone, baking sheet, or pizza peel if you’re using one.
Preheating the Oven: Setting the Right Temperature
For the best results, preheat your oven to 475-500°F (245-260°C). A hot oven is essential for achieving that crispy, golden crust and perfectly melted cheese. If you’re using a pizza stone, place it in the oven during the preheating process to ensure it’s properly heated when the pizza goes in.

Baking the Pizza: Achieving the Perfect Crust
Once your pizza is topped with your favorite ingredients, place it in the preheated oven. Bake for about 10-12 minutes, or until the crust is golden brown and the cheese is bubbling and slightly browned. If you prefer a crispier crust, leave it in a bit longer, but keep an eye on it to avoid burning.
Letting the Pizza Cool: Slicing and Serving
Once the pizza is out of the oven, let it cool for a few minutes before slicing. This helps the cheese set and makes it easier to cut. Serve immediately and enjoy the fruits of your labor—perfect pizza made from scratch, with a crust that is light, chewy, and crispy.
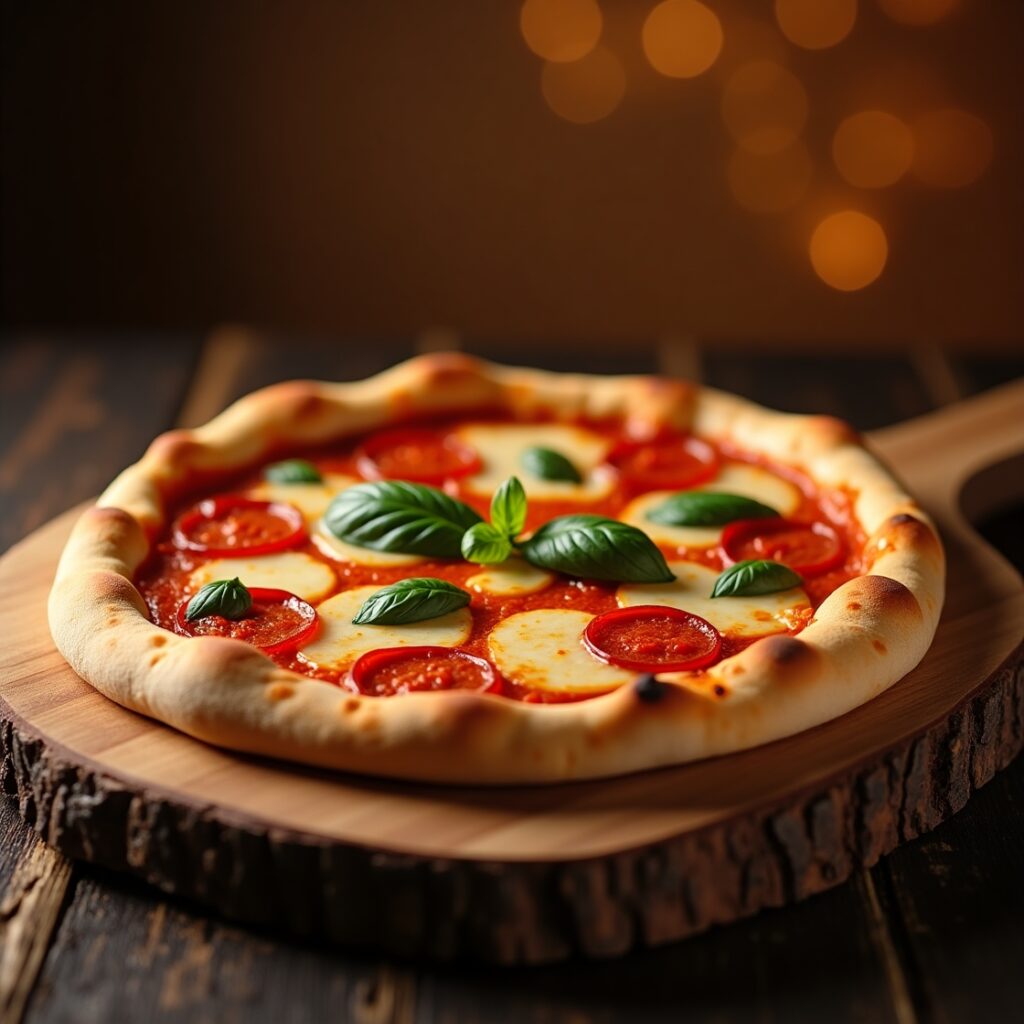
With these steps, you can create pizza dough at home that rivals your favorite pizzeria. Whether you’re making a classic Margherita, a hearty meat lover’s, or a veggie-packed delight, the dough is the foundation that takes your pizza from good to great.
Look at this
Just insert our shortcodes
Storing and Freezing Pizza Dough
How to Store Dough
If you have leftover pizza dough or simply want to prepare dough in advance for a future pizza night, storing it properly is crucial to maintaining its quality. Once your dough has risen and is ready for use, shape it into a ball and place it in an airtight container. Ensure the container is sealed tightly to prevent the dough from drying out. Store the dough in the refrigerator for up to 2 days. The cool environment helps slow down the fermentation process, but the dough will continue to rise slowly over time, making it even more flavorful.
Before you use the stored dough, take it out of the refrigerator and let it come to room temperature for about 30-60 minutes. This step is essential because cold dough can be difficult to stretch and shape. By allowing the dough to warm up, it will become more pliable and easier to work with.

Freezing Dough for Later
If you’re looking to store dough for an extended period, freezing it is the best option. Freezing your dough ensures you have it ready whenever the pizza craving hits, without needing to start from scratch each time. To freeze your pizza dough, start by dividing it into individual portions if you plan on making multiple pizzas. Wrap each portion tightly in plastic wrap, ensuring that no air is left inside. Once wrapped, place the dough in a freezer bag, squeezing out as much air as possible. Label the bag with the date so you can keep track of how long it’s been stored.
Pizza dough can be frozen for up to 3 months. When you’re ready to use the dough, remove it from the freezer and place it in the refrigerator overnight to thaw. This slow thawing process helps preserve the dough’s texture. Once thawed, allow it to sit at room temperature for 30-60 minutes before shaping, just as you would with freshly made dough. This ensures it becomes soft and easy to stretch.

Tips for Troubleshooting Pizza Dough
Making pizza dough is a simple process, but there are a few common issues that might arise. Don’t worry, though—most problems are easy to fix! Here’s a breakdown of the most frequent dough problems and how to solve them:
Dough is too sticky
If your dough feels too sticky and is difficult to handle, it likely needs more flour. Gradually add flour, one tablespoon at a time, and knead it in until the dough becomes smooth and elastic. Be careful not to add too much flour, as this could make the dough too dry and stiff. The dough should still be soft but not overly sticky.
Dough is too dry
If the dough is too dry and crumbly, it means that you might not have added enough water during the mixing process. If this happens, add a little warm water (a tablespoon at a time) to bring the dough together. Knead the dough well after each addition to ensure the water is incorporated evenly. The dough should be soft and slightly tacky, but not wet.
Dough didn’t rise
If your dough didn’t rise as expected, the most likely issue is that the yeast wasn’t activated properly or the dough wasn’t kept in a warm enough place to rise. First, double-check that your yeast is fresh and that you activated it in warm (not hot) water with a pinch of sugar. If the dough still doesn’t rise, try placing it in a warmer location, such as near a stove or in a turned-off oven with the light on. If the dough still doesn’t rise, your yeast might have been expired, or the water was too hot, which can kill the yeast.
The Secret to a Crispy Crust
How to Achieve a Crispy Crust
A crispy crust is one of the hallmarks of great pizza. The right combination of dough, baking temperature, and technique can create that perfect crispiness on the outside while keeping the inside soft and chewy. One of the best ways to achieve a crispy crust is by using a preheated pizza stone or pizza steel. These baking surfaces retain and radiate heat, helping the pizza dough cook evenly and develop a crisp bottom. Preheat your oven to its highest setting (typically 475-500°F) for at least 30 minutes before baking, and then place the stone or steel in the oven during this time to heat up.
Additionally, brushing the edges of your dough with olive oil before baking can help create a golden, crispy finish while adding flavor. The oil helps promote browning and crisping during the baking process. For an extra burst of flavor, you can also add a pinch of garlic powder or Italian seasoning to the olive oil before brushing it onto the dough.
Adjusting for a Softer Crust
While a crispy crust is desirable for many, some prefer a softer, thicker crust. If that’s your preference, you can adjust your baking method to achieve a more tender result. One way to achieve a softer crust is by reducing the baking time or lowering the temperature slightly. Baking your pizza at around 425°F for a longer period of time will help soften the crust. You can also skip using a pizza stone or steel, as a baking sheet will give you a softer result. Another tip is to brush the crust with olive oil before baking to add moisture and prevent the edges from getting too dry.
Enhancing Flavor with Longer Fermentation
Cold Fermentation Technique
One of the secrets to creating a flavorful pizza dough is allowing it to ferment slowly over a longer period. This process, known as cold fermentation, takes place when the dough is stored in the refrigerator for an extended period, typically between 24 and 72 hours. Cold fermentation allows the yeast to work more slowly, producing a dough with a richer flavor and a chewier texture. The slow rise develops more complex flavors, and the dough becomes easier to stretch and shape.
How to Cold Ferment Dough
To cold ferment your dough, simply follow the basic dough recipe, and after kneading, transfer the dough to a greased bowl. Cover it with plastic wrap or a damp towel and place it in the refrigerator. The dough will rise slowly in the cool environment, developing flavor and texture. If you have time, let it ferment for 48-72 hours for the best results. When you’re ready to use the dough, remove it from the refrigerator about an hour before baking to allow it to come to room temperature. This helps activate the yeast again and makes the dough easier to work with.
Using a Mixer for Kneading
Why Use a Stand Mixer?
If you’re looking for a more efficient way to knead your pizza dough, using a stand mixer can save you time and effort. A stand mixer with a dough hook attachment is designed specifically for kneading, so it takes the work out of the process. You can mix and knead the dough in just 6-8 minutes, leaving you with a perfectly smooth and elastic dough. The mixer does all the hard work, so you don’t have to worry about overworking the dough by hand.
Mixer vs. Hand Kneading
While a stand mixer is certainly convenient, some people prefer hand kneading because it allows for a more personal connection with the dough. Hand kneading also gives you a better sense of the dough’s texture and consistency. With hand kneading, you can adjust the amount of flour or water as needed to get the perfect dough consistency. Kneading by hand is also a great way to feel when the dough has achieved the ideal level of elasticity, as you can stretch and fold it to see how it reacts.
Pizza Dough Variations: Customize Your Recipe
Adding Herbs to the Dough
If you want to add extra flavor to your pizza dough, consider mixing in herbs like oregano, basil, rosemary, or garlic powder. These herbs infuse the dough with aromatic flavors that complement the pizza toppings. Simply add the dried herbs or freshly chopped herbs to the flour before mixing in the wet ingredients. This adds a subtle flavor base that pairs beautifully with traditional pizza ingredients like tomato sauce, cheese, and fresh vegetables.
Gluten-Free Pizza Dough
For those who need to avoid gluten, you can easily make a gluten-free pizza dough by substituting the all-purpose flour with a gluten-free flour blend. Look for blends that contain rice flour, potato starch, and tapioca flour, as these provide the best texture and consistency. To ensure the dough holds together, you’ll need to add a binding agent like xanthan gum or guar gum. This will provide structure and elasticity, which is especially important for gluten-free pizza dough. The texture will be slightly different from traditional dough, but it will still be delicious and perfect for a gluten-free pizza.
With these variations and tips, you can personalize your pizza dough to suit your taste or dietary needs, making every pizza night an opportunity to try something new and exciting.
The Science of Pizza Dough
How Gluten Affects Dough Texture
Gluten plays a fundamental role in the texture and structure of pizza dough. When you combine flour and water and knead the dough, gluten proteins (gliadin and glutenin) bond to form a network of long, elastic strands. This process is critical because it gives the dough its stretchiness and ability to trap air bubbles. The more you knead the dough, the stronger this gluten network becomes, which is what allows your pizza crust to rise and form the characteristic airy, chewy texture. Without gluten, your dough would be dense and hard, lacking the light and tender bite that makes pizza dough so satisfying. Understanding this process can help you manipulate your dough for the ideal texture.
The Role of Hydration
The amount of water you add to your dough significantly impacts its texture and workability. Hydration in dough refers to the ratio of water to flour, and it’s a key factor in determining how soft, chewy, and elastic your pizza crust will be. A higher hydration level leads to a softer, more open crumb with larger air pockets, creating a pizza crust that is both crispy on the outside and airy on the inside. On the other hand, a dough with less water (lower hydration) will be firmer and denser, which may be preferable if you’re aiming for a more substantial, thick crust. Adjusting the hydration level according to your preference allows for personalized pizza crusts, from airy Neapolitan-style pizzas to the hearty, chewy New York-style pizza.

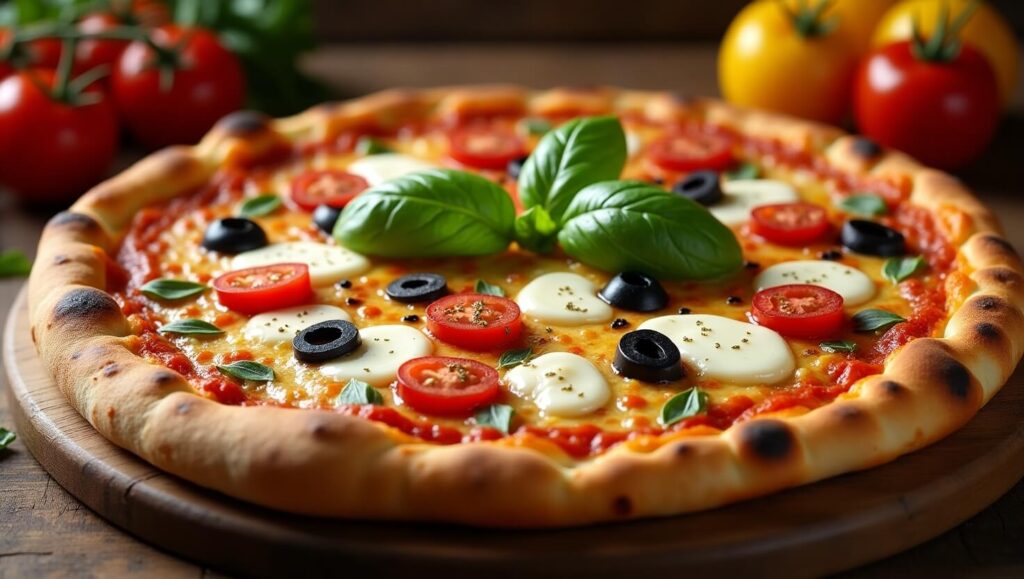
Choosing the Right Toppings for Your Pizza
Classic Toppings for a Traditional Pizza
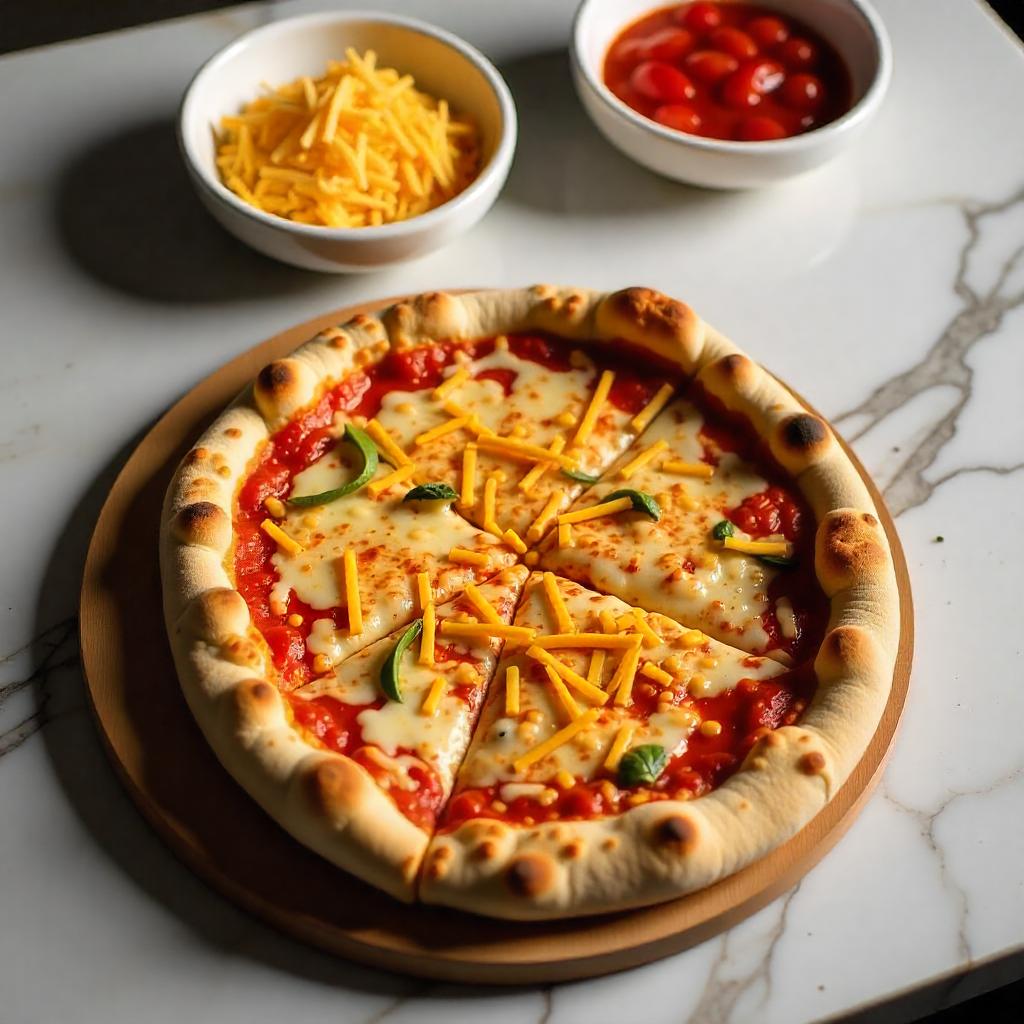
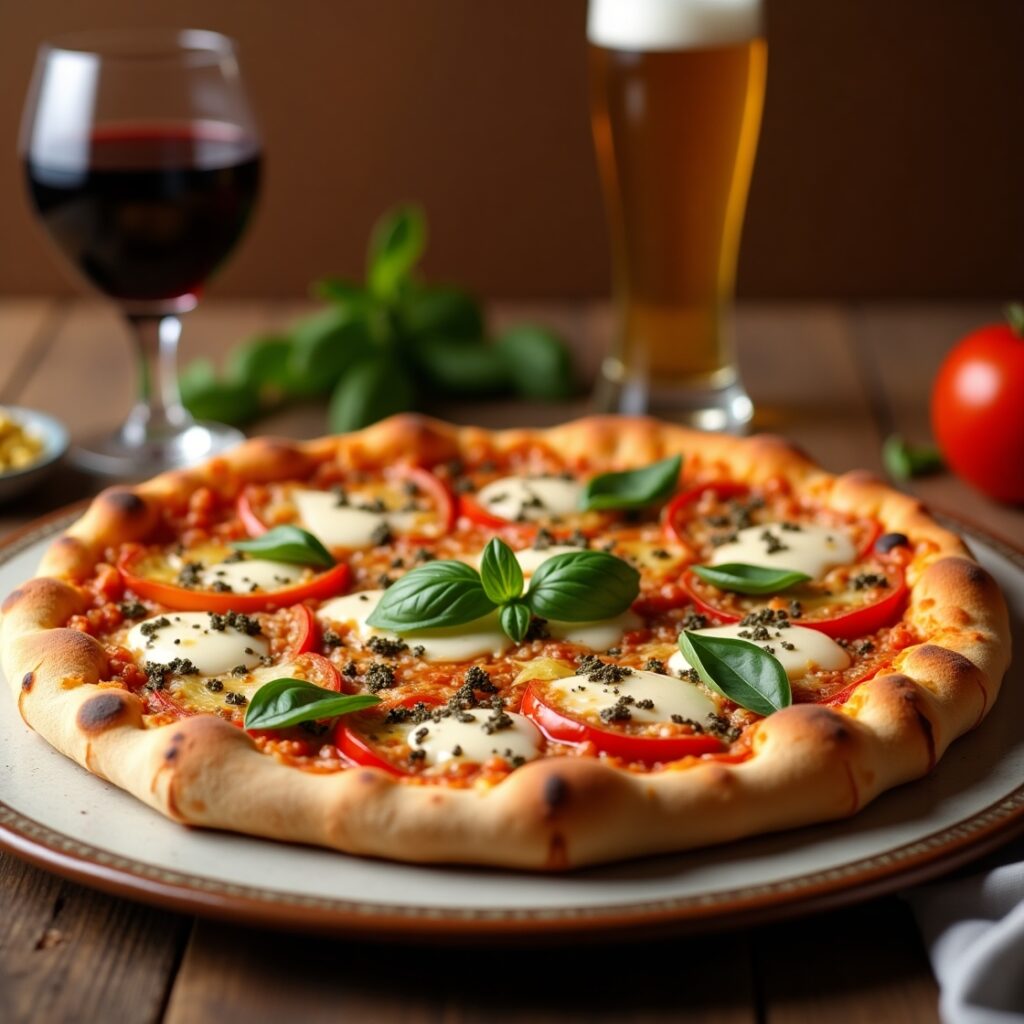
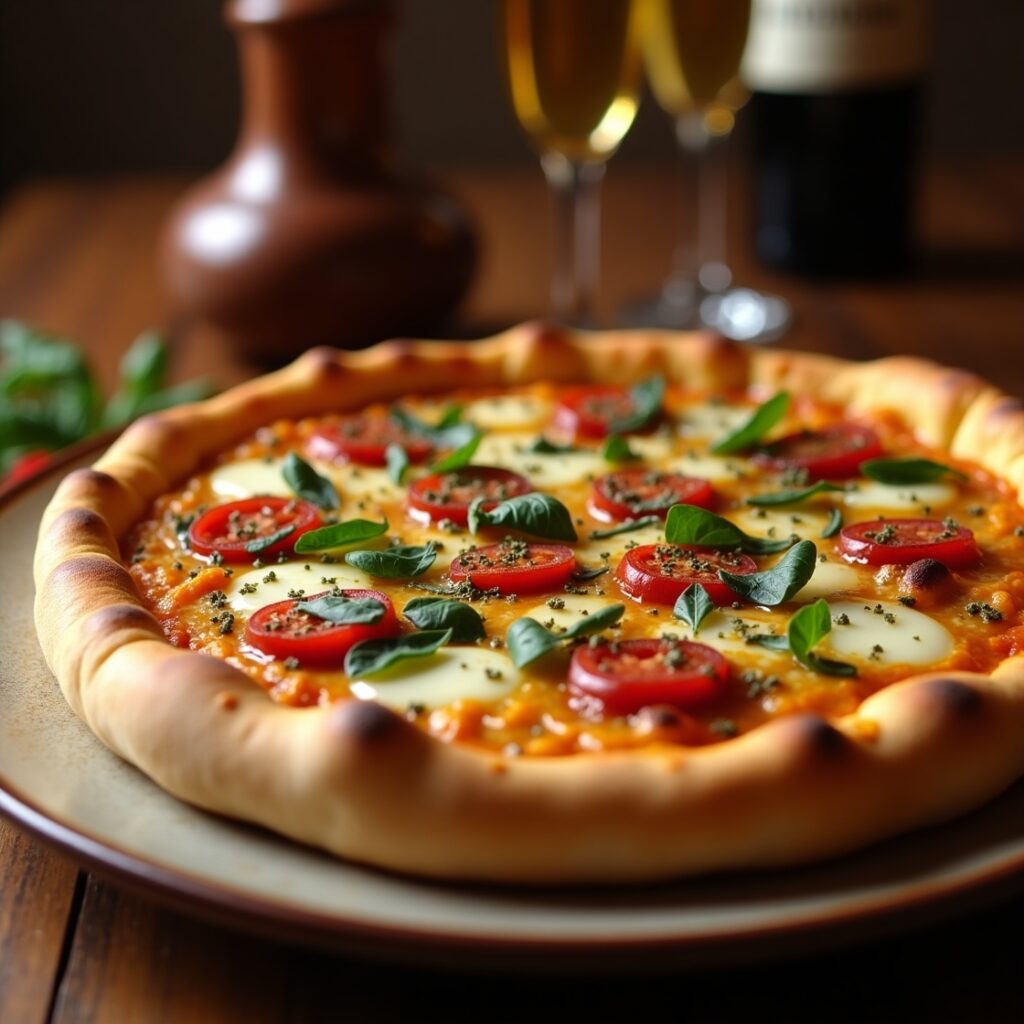
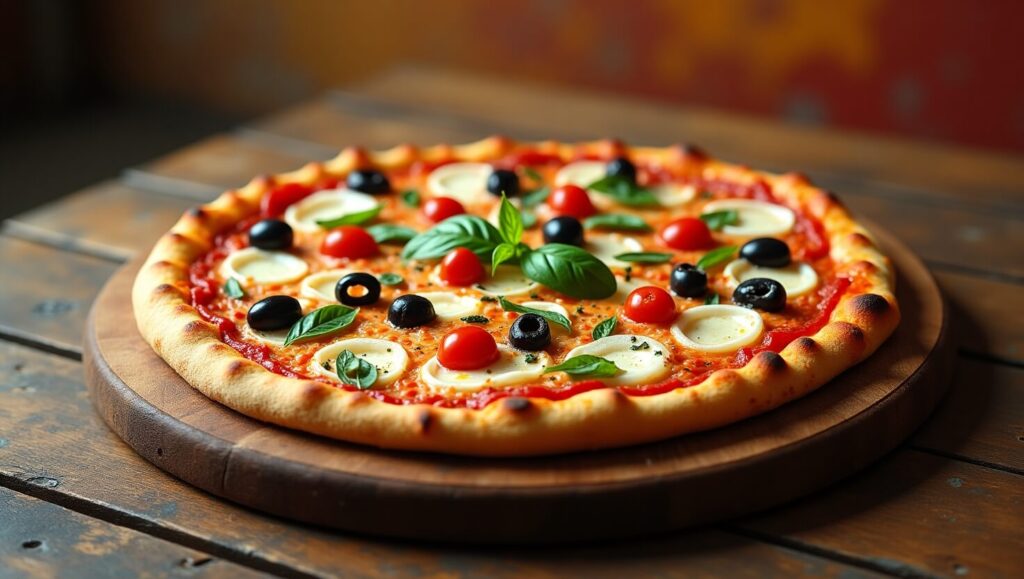
When making pizza at home, the toppings are just as important as the dough. Traditional pizza toppings like mozzarella cheese, fresh basil, and tomato sauce complement a well-made crust, bringing out its flavor and texture. You can’t go wrong with classics like pepperoni, mushrooms, olives, or bell peppers, but the simplicity of the ingredients allows the dough’s flavor to remain the star. To elevate your pizza, consider using fresh mozzarella instead of pre-shredded varieties, as it offers a creamier texture and richer taste. High-quality olive oil, fresh herbs, and a sprinkle of sea salt can make all the difference.
Creative Toppings for Unique Pizza
While traditional toppings are always a safe bet, exploring new flavors can take your homemade pizza to the next level. Think outside the box with unusual ingredients like caramelized onions, goat cheese, prosciutto, figs, or even arugula. For example, a fig and prosciutto pizza combines sweet, savory, and salty flavors for a sophisticated twist. White pizzas, made without tomato sauce, can be topped with ricotta, garlic, spinach, and mushrooms for a comforting, earthy flavor. With endless combinations available, customizing your toppings to match the season or your cravings is a fun way to create a pizza that’s uniquely yours.
The Importance of Preheating Your Oven
Why Preheating Is Crucial
Preheating your oven is one of the most important steps in ensuring a successful pizza. While it may be tempting to throw your pizza into a cold oven, doing so will result in uneven cooking and may lead to a soggy crust. The reason for preheating is that pizza dough needs a high, consistent temperature from the moment it enters the oven to cook quickly and evenly. By preheating the oven, you ensure that your pizza is exposed to intense heat right from the start, allowing it to cook rapidly while keeping the inside soft and the crust crisp. The ideal temperature for baking pizza is around 475-500°F (245-260°C), depending on your oven and the type of pizza you’re making.
Using a Pizza Stone or Steel
For an even better result, consider using a pizza stone or pizza steel. These tools are fantastic for mimicking the high heat of a brick oven, ensuring that the heat is distributed evenly across the bottom of your pizza. A pizza stone is made from ceramic or stone and absorbs heat, creating an even surface for your pizza to bake on. A pizza steel, made of metal, retains heat even more efficiently, resulting in an ultra-crisp crust. Both tools should be placed in the oven while it’s preheating, allowing them to reach the highest possible temperature. This will create a crisp, golden bottom while maintaining a soft and chewy top, giving you that perfect pizzeria-style pizza.

How to Stretch Your Pizza Dough Like a Pro
The Art of Hand-Stretching
Mastering the art of hand-stretching pizza dough takes time, but it’s worth the effort. Start by pressing your dough ball into a rough disk shape using your fingers and palms. Avoid using a rolling pin, as this will flatten the dough and push out the air bubbles that give the pizza its light, airy texture. Once the dough is flattened, pick it up and gently stretch it by holding the edges and rotating it in your hands. As you stretch, gravity will help thin the dough, so you don’t need to apply too much pressure. Be patient, as the dough will naturally stretch more with practice. If the dough resists, don’t force it—let it rest for 5-10 minutes before continuing to stretch it.
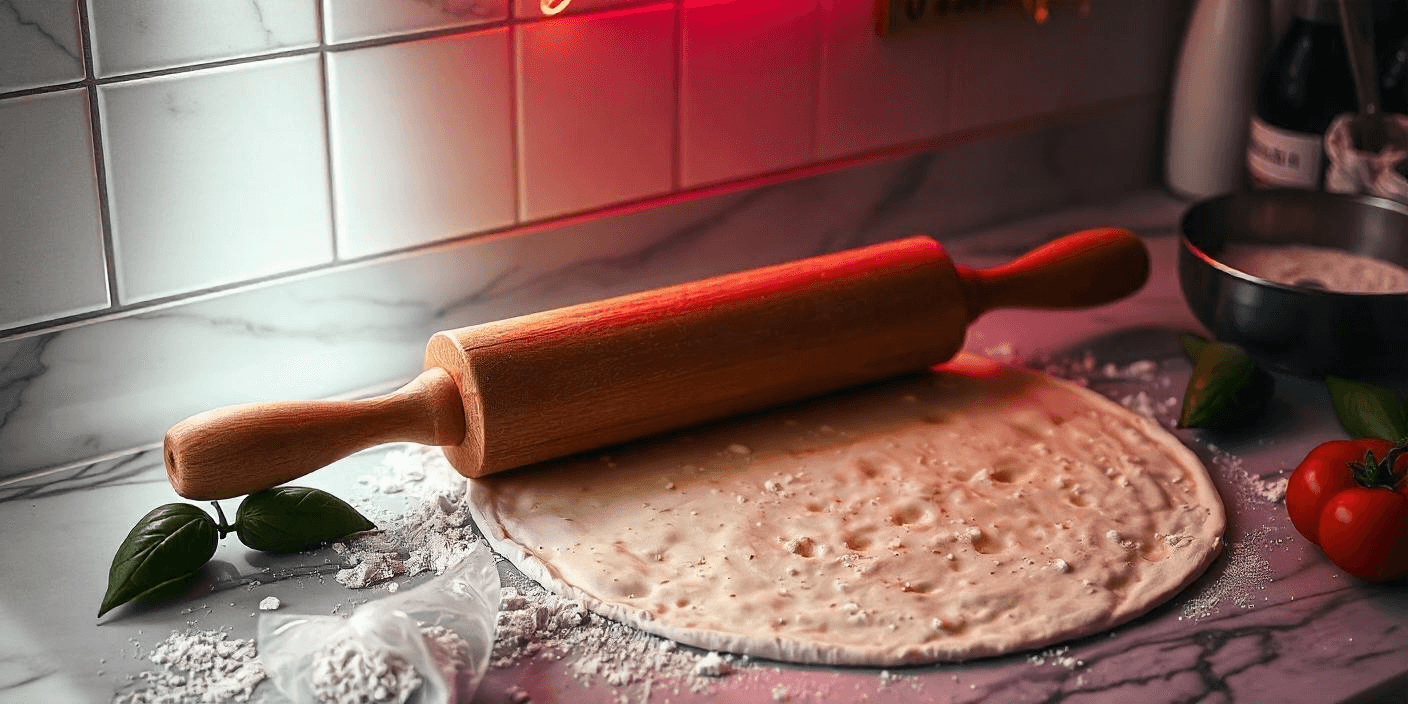
Using a Rolling Pin
If hand-stretching isn’t your thing or if you prefer a more consistent thickness, using a rolling pin is a perfectly acceptable option. Flour your surface lightly, then roll out the dough from the center outward, turning the dough 90 degrees after each roll to maintain an even shape. The key is to avoid overworking the dough. Over-rolling can push out the air pockets and result in a denser, less airy crust. Keep the rolling pin’s pressure light, and ensure the dough is still soft and stretchy.
The Best Pizza Dough for Different Styles of Pizza
Neapolitan-Style Pizza Dough
The traditional Neapolitan pizza dough is thin, light, and slightly chewy with a puffy crust that forms around the edges. Made from just four ingredients—flour, water, yeast, and salt—Neapolitan dough is simple yet full of flavor. The key to its authenticity is the use of “00” flour, which is finely milled and has a lower protein content compared to all-purpose flour. This allows the dough to stretch easily and form a thin, crispy crust with a slight puff around the edges. The dough should be left to rise for a few hours at room temperature or undergo a slow fermentation in the refrigerator for deeper flavor.
New York-Style Pizza Dough
New York-style pizza is characterized by a chewy, thick yet flexible crust that can hold up to generous toppings without losing its structure. To achieve the perfect New York-style pizza dough, bread flour is the preferred choice due to its higher protein content, which creates a dough that’s strong and chewy. The dough is typically thicker in the center and thinner around the edges, creating a crust that’s crunchy at the base but soft enough to fold. This style of pizza is baked in a high-temperature gas oven, but you can replicate it at home with the right dough and a preheated pizza stone or steel.
The Perfect Pizza Dough Thickness
Thin Crust vs. Thick Crust
One of the most significant decisions when making pizza dough is determining how thick you want your crust. Thin crust pizza is ideal for those who enjoy a crispy, crackling base with a more delicate texture. The dough is rolled or stretched out to about 1/8 inch thick, creating a light, crisp pizza that cooks quickly. On the other hand, thick crust pizza provides a hearty base with a soft, chewy interior. This type of dough is rolled out thicker or left to rise longer, creating a satisfying, substantial crust. When deciding between the two, consider your personal preference and the toppings you plan to use. Heavier toppings often pair better with a thicker crust, while lighter, fresher toppings are ideal for thin crust pizzas.
Adjusting for Crust Thickness
If you’re after a pizza with a balance of both—crispy but chewy—adjusting the thickness can help. Start by rolling the dough thinner in the center, where you’ll add the toppings, and leave the perimeter slightly thicker to create a chewy crust edge. This method provides the best of both worlds, ensuring that the center of your pizza is crisp while the edges remain soft and pillowy.
How to Make Pizza Dough by Hand
Step-by-Step Instructions for Hand-Kneading
Making pizza dough by hand is a rewarding, hands-on process. To start, combine your dry ingredients—flour, salt, and sugar—into a large mixing bowl. In a separate bowl, mix warm water with sugar and active dry yeast, letting it sit for 5-10 minutes to activate the yeast. Once the yeast is bubbly and frothy, pour it into the flour mixture, along with the olive oil. Use a wooden spoon to mix everything together until a dough forms. Then, turn the dough out onto a floured surface and begin kneading by hand. Press the dough with your palms, fold it over, and push it down again. Continue for about 6-8 minutes until the dough is smooth, elastic, and slightly tacky.
Tips for Effective Hand-Kneading
Kneading by hand may seem daunting at first, but with practice, you’ll get the hang of it. If the dough sticks to your hands, lightly flour them or the surface. If the dough becomes too dry, add water, one tablespoon at a time. The key to great pizza dough is to knead gently but consistently. If you’re unsure whether the dough is ready, perform the “windowpane test.” Stretch a small piece of dough between your fingers. If it forms a thin, translucent membrane without tearing, it’s ready for its first rise.
How to Handle Over-Risen Dough
When Dough Over-Rises
Sometimes, your dough may rise too much, especially if it’s left in a warm place for too long. Over-risen dough can be challenging to work with, as it becomes overly airy and may collapse when handled. The first sign of over-rising is when the dough appears puffy or starts to develop large bubbles on the surface. If this happens, don’t panic. Gently punch down the dough to release the air and redistribute the yeast. You may need to knead it lightly to restore its structure, and it can go through a short second rise before being shaped into pizza.
How to Prevent Over-Rising
To avoid over-rising, keep a close eye on your dough as it ferments. Make sure you let the dough rise in a warm, draft-free spot but not too hot, as excessive heat speeds up fermentation. If you’re not ready to use the dough, place it in the refrigerator during the rise to slow down the process. Dough can stay in the fridge for up to 72 hours, which will also improve the flavor due to longer fermentation.

Pizza Dough Hydration: Finding the Perfect Water-to-Flour Ratio
The hydration level in pizza dough refers to the ratio of water to flour in the recipe, which affects the dough’s texture, elasticity, and how easy it is to work with. Too little water can result in a dry and tough dough, while too much water can make the dough sticky and hard to handle. Below is a table that shows the typical hydration levels for different types of pizza dough, which you can use to adjust based on your preference for crust texture and ease of handling.
| Pizza Style | Water-to-Flour Ratio | Hydration Percentage | Characteristics |
|---|---|---|---|
| Neapolitan Pizza | 1:1.6 | 62.5% | Soft, chewy, and airy with a slightly puffy crust. Great for high-temperature ovens (800°F). |
| New York-Style Pizza | 1:1.5 | 66.6% | Thin, crisp, and foldable with a slightly chewy texture. Ideal for standard home ovens. |
| Chicago Deep Dish | 1:1.2 | 83.3% | Thick, buttery, and tender dough with a crisp, crunchy edge. The high hydration makes it rich. |
| Sicilian Pizza | 1:1.8 | 55.5% | Thick, soft, and spongy with a slightly crisp bottom. Good for baking in a pan. |
| Whole Wheat Pizza Dough | 1:1.7 | 58.8% | Denser and earthier with a slightly nutty flavor. Slightly tougher but healthy. |
| Gluten-Free Pizza Dough | 1:1.5 | 66.6% | Soft and slightly crumbly, but more delicate and lighter than regular dough. |
| High Hydration Artisan Dough | 1:2 | 50% | Very soft and sticky dough, resulting in a light and airy crust with big air pockets. |
Adjusting Hydration for Desired Texture
- Lower Hydration (55-60%): This range works well for a thicker crust with a denser texture, making it easier to handle and shape by hand.
- Medium Hydration (60-70%): Ideal for a balance between softness and crispness, commonly used in classic pizza styles like New York or Neapolitan.
- Higher Hydration (70-80%): Produces a light, airy, and slightly chewy crust, especially suited for artisan-style pizzas with a more open crumb structure.
Hydration is one of the most critical factors when making pizza dough, so experiment with different water-to-flour ratios to find the one that best suits your preferences and pizza style!
Understanding the Role of Fermentation in Pizza Dough
The Magic of Fermentation
Fermentation is a crucial step in pizza dough making, and understanding its role can take your pizza to the next level. During fermentation, the yeast in the dough consumes sugars and produces carbon dioxide and alcohol. The carbon dioxide creates air bubbles within the dough, which causes it to rise and become airy and light. This process also develops the dough’s flavor, as the yeast breaks down starches in the flour into simpler sugars, resulting in a more complex, slightly tangy taste. The longer you allow the dough to ferment, the more depth of flavor it will have. While most recipes call for a short fermentation time of a couple of hours, you can extend it for a longer period—either through cold fermentation or a slow rise at room temperature—to achieve richer, more nuanced flavors in your dough.
The Difference Between Fast and Slow Fermentation
There are two main methods of fermentation: fast fermentation and slow fermentation. Fast fermentation typically occurs at room temperature and can take as little as 1-2 hours. This method is ideal for quick pizza nights but produces dough with a simpler flavor profile. Slow fermentation, on the other hand, takes longer—anywhere from 24 hours to a few days. During this time, the yeast works more slowly, producing more complex flavors and a more tender dough. Cold fermentation, which occurs in the fridge, is one of the best ways to develop this depth of flavor. By allowing your dough to rest in the fridge, the yeast has more time to break down the flour’s starches, which enhances both the dough’s texture and taste.

How to Cold Ferment Pizza Dough
Cold fermentation involves placing your dough in the refrigerator to rise over an extended period. After mixing and kneading your dough, cover it tightly with plastic wrap or place it in an airtight container to prevent it from drying out. Then, leave it in the fridge for anywhere between 24 and 72 hours. The longer the dough ferments, the more flavor it will develop. When you’re ready to make your pizza, remove the dough from the fridge and let it rest at room temperature for at least an hour to allow it to come back to life and be easier to stretch. Cold fermentation is particularly ideal if you’re planning ahead for a pizza-making session, as it allows for maximum flavor development while fitting into a flexible schedule.
The Impact of Room Temperature on Fermentation
If you’re looking for a quicker pizza-making solution, room temperature fermentation can still yield great results, though it requires more attention to timing. Typically, dough left at room temperature will rise in about 1-2 hours. However, during the summer or in warmer environments, the dough may rise too quickly, leading to over-proofing. On the flip side, colder environments will slow down fermentation, and your dough may need more time to rise. It’s important to keep an eye on your dough as it rises to ensure that it doesn’t go too far and lose its structure. Understanding how temperature impacts fermentation will allow you to adjust the timing of your dough-making process and control the outcome more effectively.
Fermentation Tips for Better Pizza Dough
- Room Temperature Tip: If you’re fermenting your dough at room temperature, try using a covered bowl or proofing container to prevent the dough from drying out.
- Cold Fermentation Tip: For cold fermentation, leave enough space in your container for the dough to expand as it rises. You can even divide your dough into individual portions before refrigerating, making it easier to manage when you’re ready to bake.
- Timing: A longer fermentation period leads to better flavor development, but a shorter rise time can still produce a great pizza if you’re short on time.
Understanding fermentation is key to perfecting pizza dough. Whether you go for a quick rise or a long, slow fermentation, both methods have their merits and can be tailored to suit your schedule and desired flavor profile.
