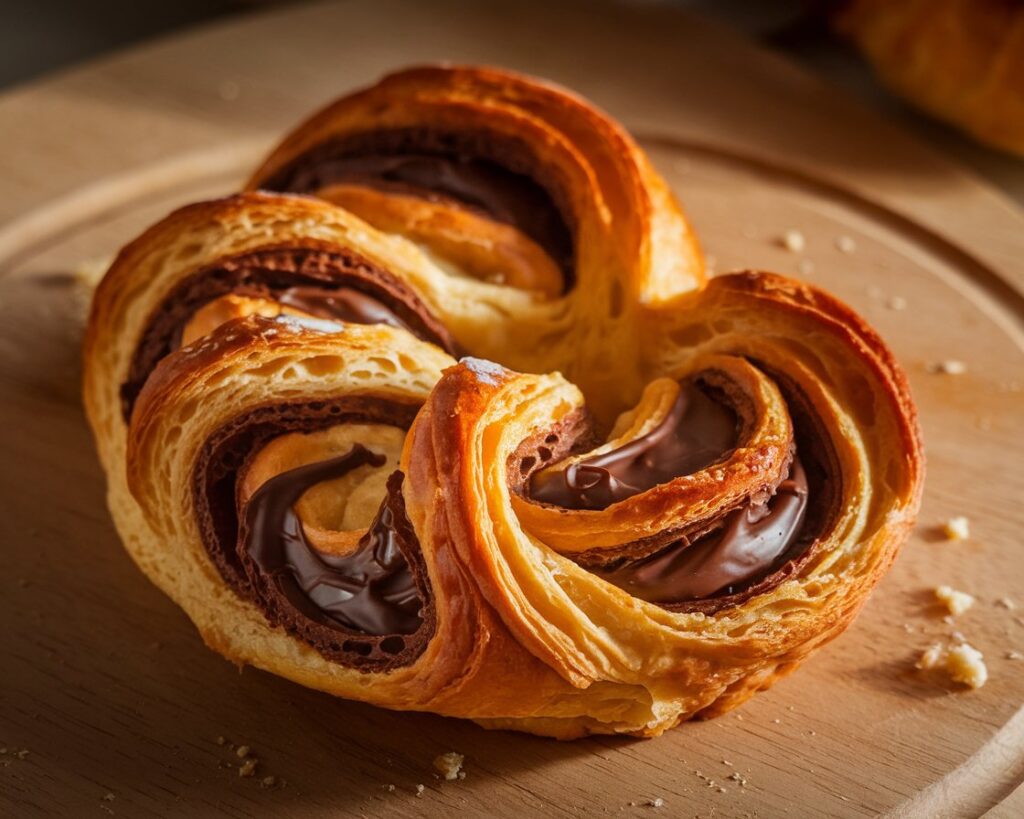
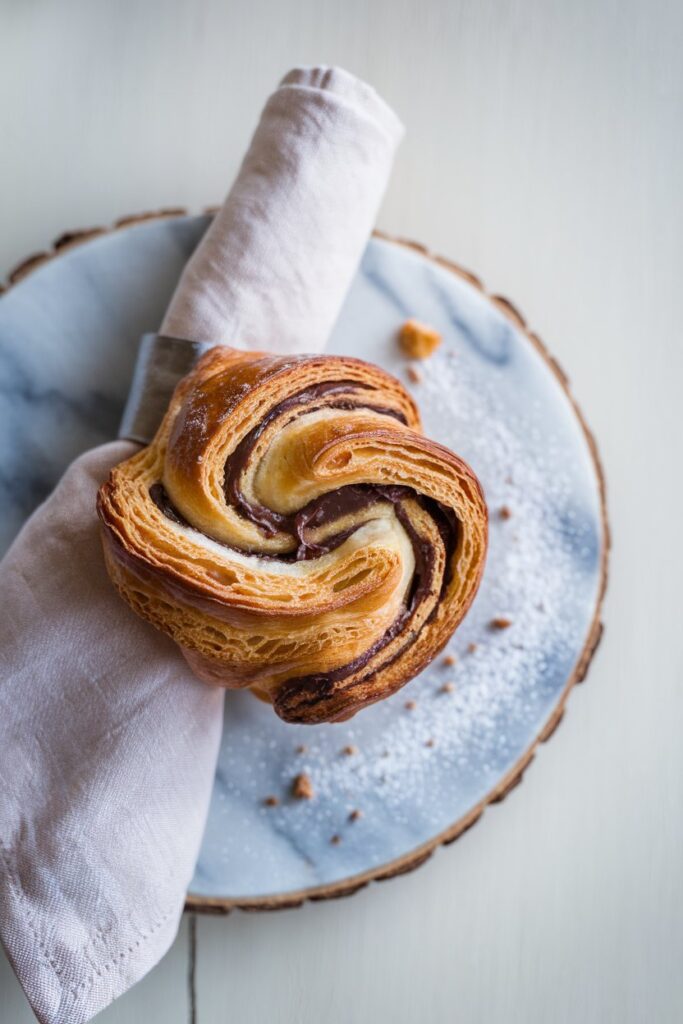
Pain au chocolat is more than just a pastry — it’s a buttery, chocolate-filled slice of French heaven that instantly transports you to the cozy streets of Paris. While it might seem like the kind of treat best left to expert pâtissiers, making the perfect Chocolate croissant at home is absolutely within your reach. With a little patience, a few insider tips, and the right technique, you’ll soon be pulling golden, flaky pastries from your own oven — and wondering why you didn’t try it sooner. Ready to unlock the secrets to this iconic French delight? Let’s get baking!
What Makes a True Pain au Chocolat So Special?
A Peek into French Pastry Traditions
In France, few things are more cherished than a freshly baked pain au chocolat enjoyed on a crisp morning. Walking through Paris, it’s impossible to miss the inviting scent drifting from the neighborhood pâtisseries, where rows of golden pastries glisten behind glass counters. Grabbing a warm pain au chocolat on the way to work or school is a beloved daily ritual for many Parisians. It’s not just a breakfast item — it’s part of the cultural fabric, tied to leisurely mornings at a café, afternoon breaks, and weekend markets. This deep connection to pastry-making is why authenticity matters so much when recreating this treat at home.
Pain au Chocolat vs Chocolate Croissant: Are They the Same?
It’s a common misconception that pain au chocolat and chocolate croissants are interchangeable, but they actually have distinct differences. Here’s a quick breakdown:
| Feature | Pain au Chocolat | Chocolate Croissant |
|---|---|---|
| Shape | Rectangular | Crescent |
| Chocolate Placement | Two batons inside | Sometimes scattered |
| Dough Type | Laminated pastry | Laminated pastry |
| Origin | France | France |
Both pastries share the rich, buttery layers of laminated dough, but their shapes and chocolate distribution set them apart. Traditional pain au chocolat always has two neatly placed chocolate batons, offering a consistent, delicious center with every bite.
Why Laminated Dough is Key
The magic of a true pain au chocolat lies in its laminated dough — the technique responsible for those irresistible, flaky layers. Laminating dough involves encasing cold butter within the dough and then folding and rolling it multiple times to create thin, alternating layers of butter and pastry. As the pastry bakes, the water in the butter turns to steam, gently puffing up the dough and creating the signature airy texture. If the lamination is done well, you’ll get a crisp, shattering exterior with a tender, buttery interior. While it sounds complicated, mastering this technique at home is incredibly rewarding and transforms a simple bake into an authentic French experience.
Before You Start: Secrets Every Baker Should Know
Choosing the Right Ingredients
The ingredients you use can make all the difference between an average pain au chocolat and one that transports you straight to the streets of Paris. European butter is essential — its higher fat content and rich flavor will ensure that your dough is perfectly flaky. Skip the generic supermarket butter and go for the good stuff — it’s worth the extra investment! Similarly, opt for dark chocolate batons (those long, rectangular pieces of chocolate used specifically for pastries). These melt beautifully inside the dough, creating the perfect chocolate-to-pastry ratio. Finally, don’t skimp on good-quality flour. All-purpose flour works, but if you can find pastry flour, it’ll give you that tender, melt-in-your-mouth texture that makes a true Chocolate croissant so special.
Tools of the Trade: Essentials You’ll Need
Before diving into your dough, make sure you have the right tools for the job. Here’s a quick list of the must-haves for baking pain au chocolat:
- Rolling pin – For rolling out that dough evenly.
- Stand mixer – Ideal for mixing and kneading the dough, but you can also do it by hand if you’re feeling adventurous.
- Pastry brush – Essential for brushing on the egg wash that gives your pastries their golden finish.
- Thermometer – A kitchen thermometer ensures your butter stays at the perfect temperature during the laminating process.
These tools are your trusty sidekicks in creating perfectly flaky, buttery pain au chocolat. They might seem like small details, but they make a world of difference in the final result.
Timing Matters: Understanding Proofing and Chilling
The magic of pain au chocolat is in the dough’s delicate layers, which require careful proofing and chilling to achieve. Here’s a handy timeline to help you understand the key stages:
| Stage | Time Needed | Why It Matters |
|---|---|---|
| Chill dough | 30 minutes to 1 hour | Firms up the butter and dough for lamination. |
| First fold | 20 minutes | Helps create those buttery layers. |
| Chill again | 30 minutes | Ensures dough is cold and firm before rolling. |
| Shape and proof | 1–2 hours | Allows dough to rise and become airy. |
Each step is crucial in building those perfect layers of flakiness. Be patient with the chilling and proofing times — they may seem like a hassle, but they’re what make pain au chocolat such a delicious treat.
Common Mistakes That Ruin Pain au Chocolat (And How to Avoid Them)
The Top 5 Baking Sins
Making pain au chocolat is a rewarding challenge, but there are some common mistakes that can trip up even experienced bakers. Here are the top five sins to avoid — and trust us, they can make or break your pastry:
- ❌ Warm butter while laminating = dough leaks butter
(Butter should always be cold and firm when laminating. Warm butter will melt and cause your dough to lose its structure.) - ❌ Underproofed dough = dense pastries
(Proofing gives the dough time to rise and develop airy layers. If you rush it, you’ll end up with dense, heavy pastries.) - ❌ Overbaking = dry and crumbly
(A golden, crispy exterior is key, but overbaking will leave your pain au chocolat dry and crumbly. Keep an eye on the oven!) - ❌ Skipping egg wash = pale pastries
(The egg wash isn’t just for shine — it gives your pastries that beautiful golden color and slight crisp on the outside. Don’t skip it!) - ❌ Wrong chocolate type = melting disaster
(Make sure to use dark chocolate batons or a good-quality baking chocolate. Standard chocolate chips can melt too quickly, leaving you with a messy filling.)
Quick Fixes for Last-Minute Dough Drama
Even with the best intentions, things can go a little sideways in the kitchen. But don’t panic — here are some quick fixes for common dough dilemmas:
- Dough too soft? Toss it back in the fridge for 10-15 minutes. It’ll firm up, and you’ll be able to roll it out perfectly without the mess.
- Dough cracking when folding? If the dough feels tough or cracks when you fold it, you’ve probably let it warm up too much. Just chill it again before continuing — it’s like hitting the reset button.
- Pastries not rising? Try moving them to a warmer spot in the kitchen, away from drafts. Sometimes a little extra warmth is all they need to puff up beautifully.
Baking is all about recovering from those little slip-ups — and with these tips, you’ll be a pro at it in no time.
Fun Twists to Customize Your Pain au Chocolat
Playing with Fillings
While the classic pain au chocolat with dark chocolate batons is a timeless favorite, there are so many ways you can play with the filling to give your pastries a unique spin. Here are some fun ideas for filling variations that will add an extra layer of flavor:
| Variation | Description |
|---|---|
| Nutella | The classic hazelnut-chocolate spread adds a creamy, rich texture. |
| Orange zest | A zesty, citrus twist that brightens up the pastry and pairs beautifully with dark chocolate. |
| Hazelnut cream | Nutty and rich, this creamy filling adds depth and sophistication. |
| Almond paste | For a slightly marzipan-inspired filling, almond paste is the way to go. |
| Salted caramel | Sweet and salty, this luxurious filling takes pain au chocolat to the next level. |
Feel free to get creative and experiment with different combinations to make your pain au chocolat uniquely yours!
Beyond Breakfast: Creative Ways to Serve Pain au Chocolat
Pain au chocolat doesn’t just have to be a breakfast treat. There are so many other ways to incorporate it into meals and special occasions. Here are a few ideas to elevate your pastry game:
- Brunch boards: Serve mini pain au chocolat alongside fresh fruit, cheeses, and spreads for an impressive brunch spread.
- Dessert platters: Pair your pain au chocolat with a selection of French pastries, like éclairs or macarons, for a luxurious dessert platter.
- Pairing with coffee: The rich, buttery flavors of pain au chocolat pair beautifully with a cup of freshly brewed coffee, espresso, or even hot chocolate.
- Gift ideas: Package your homemade pain au chocolat in a pretty box or basket with a ribbon for a thoughtful, gourmet gift.
Serving pain au chocolat doesn’t just stop at the breakfast table — it’s versatile enough to shine at any time of day or special occasion!
Mini Pain au Chocolat Bites for Parties
Want to serve pain au chocolat at your next gathering? Mini versions are perfect for parties, and they add a touch of elegance without overwhelming your guests. Here are some tips for making bite-sized pain au chocolat:
- Cut your dough into smaller pieces: Instead of rolling out large rectangles, cut the dough into smaller squares for mini pastries.
- Adjust baking time: Since the mini bites are smaller, they’ll bake faster than the full-size versions. Keep an eye on them and check for a golden, crispy finish.
- Serve in a basket: Display the mini pain au chocolat in a cute basket lined with parchment paper for a charming presentation.
These mini bites are perfect for everything from casual get-togethers to more formal events, and they’ll definitely impress your guests!
FAQ About Pain au Chocolat
Can You Make It Ahead?
Yes, you can make Chocolate croissant ahead of time! If you want to save some time on baking day, you can prepare the dough, roll it out, and shape your pastries the night before. Simply cover them tightly with plastic wrap and refrigerate them overnight. In the morning, allow them to proof for 30-60 minutes before baking. This way, you’ll have fresh, homemade pastries without the early-morning hassle!
Can You Freeze Pain au Chocolat?
Absolutely! You can freeze it before baking or after they’ve been baked. To freeze before baking, shape the dough, place the pastries on a baking sheet, and freeze them. Once frozen, transfer them to an airtight container or freezer bag. When you’re ready to bake, you can either bake them straight from the freezer (just add a few extra minutes of baking time) or let them thaw and proof before baking.
What’s the Best Way to Reheat It Without Losing Flakiness?
Reheating pain au chocolat without losing its signature flakiness is easy! The best method is to reheat it in the oven at 350°F (175°C) for about 5-10 minutes. This helps restore the crispiness of the layers. Avoid microwaving, as it can make the pastry soggy. If you’re in a pinch, a toaster oven works great too for getting that fresh-from-the-oven crunch!
Why This Recipe Works
Creating the perfect French pastry at home is easier than it sounds. By following a few essential steps, you can achieve a perfectly flaky, golden treat that rivals what you’d find in Parisian bakeries. The key to success lies in the technique of laminating dough — folding butter into dough multiple times to create thin, delicate layers. This method not only adds to the texture but also ensures each bite is melt-in-your-mouth delicious.
By choosing high-quality ingredients like European butter and dark chocolate batons, you bring out the best flavors. With a bit of patience during the resting and proofing times, you’ll have a beautifully puffed pastry that’s crispy on the outside and soft on the inside.
If you’ve been craving a decadent treat for breakfast or dessert, this recipe gives you the opportunity to recreate an authentic French experience in the comfort of your kitchen. Whether you enjoy it with your morning coffee or as an afternoon snack, it’s guaranteed to delight every time.
Master the Art of Making the Perfect Pain au Chocolat at Home
Making the perfect pain au chocolat at home is all about embracing the process — from choosing high-quality ingredients to mastering the art of laminating dough. With a little patience and practice, you’ll be able to enjoy flaky, buttery pastries fresh out of the oven that rival those found in Parisian pâtisseries. Whether you stick to the classic recipe or experiment with creative twists, your homemade Chocolate croissant is sure to impress!
Want more tips on perfecting your pastry skills? Check out Tasty’s ultimate croissant at home. And for an extra touch of sweetness, don’t miss our chocolate dessert recipes that are perfect for pairing with your freshly baked Chocolate croissant!