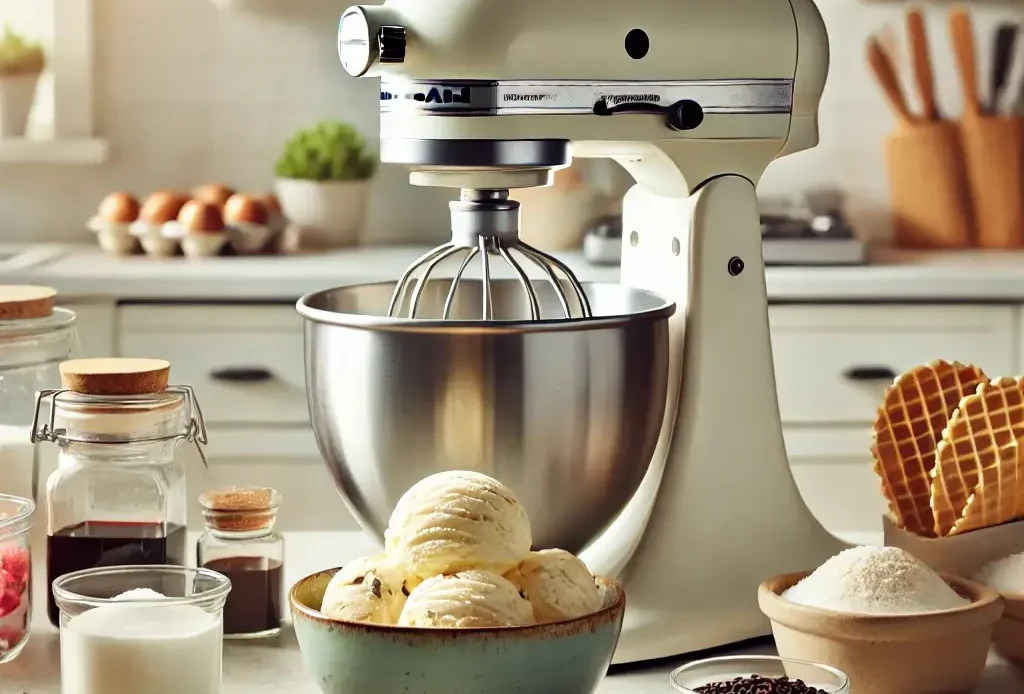
There’s something truly special about making homemade KitchenAid Ice Cream Recipe—the rich, creamy texture, the ability to customize flavors, and the satisfaction of creating a frozen treat from scratch. Unlike store-bought ice cream, which often contains preservatives and artificial ingredients, homemade ice cream allows you to control the quality of ingredients and experiment with endless flavor combinations.
If you’ve ever thought making ice cream at home was complicated, think again! With the KitchenAid Ice Cream Maker recipe, the process becomes incredibly simple. This attachment transforms your KitchenAid stand mixer into a professional-quality ice cream maker, eliminating the need for bulky, standalone machines. All you need to do is freeze the bowl, prepare your ice cream base, and let the mixer do the work. The result? Smooth, creamy, and perfectly churned ice cream every time.
In this guide, we’ll walk you through a foolproof KitchenAid ice cream recipe, covering everything from essential ingredients to step-by-step instructions. Plus, we’ll share expert tips and flavor variations to help you customize your homemade ice cream. Whether you’re making classic vanilla, rich chocolate, or experimenting with unique flavors, this recipe will ensure you get perfect results with minimal effort. Let’s dive in!
Why Use a KitchenAid for Homemade Ice Cream?

Making homemade ice cream has never been easier, thanks to the KitchenAid Ice Cream Maker Attachment. If you already own a KitchenAid stand mixer, this attachment is the perfect addition to your kitchen. Here’s why using a KitchenAid for your ice cream-making process is a game-changer.
Benefits of a KitchenAid Ice Cream Maker Attachment
Easy to use and attach to a KitchenAid stand mixer
The KitchenAid Ice Cream Maker Attachment is designed to be effortlessly attached to the power hub of your KitchenAid stand mixer. This means you can get started making ice cream without having to purchase a separate, bulky machine. It’s as simple as placing the frozen KitchenAid freezer bowl on the mixer, locking it in place, and using the mixer to churn your ice cream. With just a few setup steps, you’re ready to begin!
Consistent churning for smooth and creamy ice cream
When making ice cream by hand or with some standalone ice cream machines, the churning process can vary in speed and consistency. However, the KitchenAid Ice Cream Maker Attachment provides a steady, controlled churning process. This ensures that your ice cream is consistently smooth and creamy, with the perfect texture every time. The attachment mimics the action of traditional ice cream machines, but with the added benefit of less hassle.
How It Compares to Other Ice Cream Makers
No need for extra appliances
One of the biggest advantages of using the KitchenAid Ice Cream Maker Attachment is that it doesn’t require you to add another bulky appliance to your kitchen. Many traditional ice cream machines take up valuable counter space and come with various parts to clean and store. With the KitchenAid attachment, you can transform your KitchenAid stand mixer into an ice cream maker without the need for additional equipment. It’s perfect for small kitchens or those looking to simplify their ice cream-making process!
Churns faster than some traditional ice cream machines
While some ice cream machines can take upwards of 30 minutes to churn a batch of ice cream, the KitchenAid Ice Cream Maker typically churns faster and more efficiently. The attachment is able to incorporate air into the mixture and achieve the perfect consistency in a fraction of the time it takes for traditional machines. This is especially helpful when you’re craving homemade ice cream and don’t want to wait hours for it to set.
Essential Accessories You Need
To ensure you have everything you need for a flawless ice cream-making experience, here are a few essential accessories that will make the process even easier:
KitchenAid freezer bowl
The key accessory for making ice cream with the KitchenAid attachment is the freezer bowl. This bowl must be frozen for at least 15 hours before use, allowing it to chill your ice cream base as it churns. The bowl is designed specifically for your KitchenAid stand mixer, ensuring it fits securely into the attachment and works seamlessly to freeze your mixture.
Stand mixer paddle attachment
While the KitchenAid Ice Cream Maker Attachment does most of the work, the stand mixer paddle attachment is an essential part of the process. This paddle helps churn the ice cream evenly and consistently, ensuring it gets the perfect texture and that air is incorporated properly into your base.
Spatula and airtight container for storage
Once your ice cream has finished churning, you’ll need a spatula to scrape the ice cream out of the bowl and into an airtight container. This is important for keeping your homemade ice cream fresh and preventing freezer burn. Use a high-quality airtight container to store your ice cream in the freezer until you’re ready to serve. A well-sealed container also helps maintain the texture and flavor of your ice cream during storage.
Using a KitchenAid stand mixer with the Ice Cream Maker Attachment truly simplifies the process of making homemade ice cream. Whether you’re a beginner or an experienced ice cream enthusiast, this method ensures smooth, creamy, and consistent results every time—without the need for additional equipment or long waiting times.
Key Ingredients for the Perfect Ice Cream
The magic behind perfect homemade ice cream lies in the ingredients you use. Whether you’re making a classic custard-style ice cream or a dairy-free version, each ingredient plays a crucial role in achieving that rich, creamy texture and full flavor. Let’s break down the essential components that make your ice cream truly special.
Classic Ice Cream Base Ingredients
Heavy cream, whole milk, sugar, egg yolks (for custard-based recipes)
The foundation of most homemade ice cream recipes starts with a mixture of heavy cream and whole milk. The heavy cream provides the rich, velvety texture, while the whole milk keeps it from being overly dense. Together, they create a smooth, creamy base that’s perfect for churning into ice cream.
If you’re aiming for a custard-based ice cream, you’ll also add egg yolks, which help thicken the mixture and give the ice cream its signature creamy mouthfeel. The addition of sugar balances the richness of the dairy and gives your ice cream the sweetness you crave. This base is the perfect canvas for any flavor you want to create, from vanilla to chocolate to more adventurous options!
Vanilla extract or other flavorings
Vanilla is the quintessential ice cream flavor, and for that, you’ll want to use high-quality vanilla extract. It’s an essential addition to a basic ice cream base and enhances the overall flavor. You can also experiment with other flavorings like almond extract, coffee, or mint. For more intense flavors, you can infuse your base with ingredients like citrus zest, spices (like cinnamon or nutmeg), or even a splash of liqueur.
Dairy-Free and Vegan Alternatives
If you or someone you know follows a dairy-free or vegan lifestyle, you don’t have to miss out on delicious homemade ice cream! There are several plant-based alternatives that provide a similar rich texture to traditional dairy ice cream:
Coconut milk, almond milk, or cashew cream
Coconut milk is one of the most popular dairy-free substitutes, as it gives a naturally creamy texture while imparting a subtle coconut flavor. Almond milk is a lighter alternative, though it may require more thickening agents like cornstarch. For a thicker, richer base, you can try cashew cream, which has a neutral flavor and creates an incredibly smooth consistency.
Natural sweeteners like honey or maple syrup
For sweetness, you can swap out regular granulated sugar for natural sweeteners like honey, maple syrup, or agave nectar. These options not only add a unique flavor profile but also make your ice cream healthier and suitable for those avoiding refined sugars. Keep in mind that honey is not vegan, but it’s a great option for those looking for a more natural alternative to sugar.
Optional Add-Ins for Extra Flavor
Once you have your base, the fun really begins with all the add-ins you can incorporate to take your ice cream to the next level. From chocolate chips to swirls of caramel, there’s no limit to the creative possibilities:
Chocolate chips, fruit purees, caramel swirls, nuts
- Chocolate chips: Add semi-sweet, dark, or milk chocolate chips to give your ice cream a satisfying crunch and rich cocoa flavor.
- Fruit purees: Strawberry, mango, or blueberry purees can be swirled into your base for a burst of fruity flavor and a lovely pop of color. Pureed fruit also adds natural sweetness, so you might need to adjust your sugar levels accordingly.
- Caramel swirls: Homemade or store-bought caramel sauce is a delicious option to swirl through your ice cream, creating a sweet, indulgent layer of flavor.
- Nuts: Almonds, pecans, walnuts, or even candied hazelnuts can give your ice cream a crunchy, satisfying texture while adding an earthy, nutty flavor.
You can mix and match these add-ins, and even create a signature flavor of your own! Just make sure to add them at the right time during the churning process—too early, and they may get too broken down; too late, and they won’t be incorporated properly.
By carefully selecting your ingredients, you can create perfect homemade ice cream that’s tailored to your taste preferences. Whether you’re going for the classic route with a custard base or trying something new with dairy-free alternatives, these key ingredients will ensure a delicious, creamy dessert every time. Add your favorite mix-ins, and you’ve got yourself an ice cream masterpiece!
Step-by-Step Guide to Making KitchenAid Ice Cream

Making ice cream with your KitchenAid stand mixer and the Ice Cream Maker Attachment is a straightforward process when you break it down into manageable steps. Whether you’re making a custard-based ice cream or the simpler Philadelphia-style base, this guide will help you create perfectly smooth and creamy ice cream every time. Let’s get started!
Preparing Your Freezer Bowl
Ensure the KitchenAid freezer bowl is frozen for at least 15 hours
Before you start making your ice cream, the most important preparation step is freezing the KitchenAid freezer bowl. This bowl is the key to chilling your ice cream as it churns, and it must be frozen solid to get the desired consistency.
Place the freezer bowl in the deepest part of your freezer—where the temperature is the most consistent—and allow it to freeze for a minimum of 15 hours. If you’re planning to make multiple batches of ice cream in a single session, you’ll want to have a second bowl on hand, as the bowl needs to stay frozen to properly churn the mixture.
Making the Ice Cream Base
Instructions for custard-based and Philadelphia-style ice cream
Once your freezer bowl is prepped, it’s time to make the ice cream base. The type of base you choose will impact the texture and flavor of your ice cream:
- Custard-based ice cream: This is the traditional method, which requires egg yolks to create a smooth and rich base. To make this, heat your milk, heavy cream, and sugar over medium heat until it’s hot but not boiling. Whisk your egg yolks separately and temper them by gradually adding a little of the hot milk mixture. Then, slowly pour the egg mixture back into the pot and cook it on low heat until the custard thickens. After it cools, add in any flavorings like vanilla extract.
- Philadelphia-style ice cream: For a simpler and quicker version, use milk, cream, and sugar—no eggs required. Just mix everything together until the sugar dissolves, and you’re ready to churn. This style creates a lighter, less dense ice cream but is still incredibly creamy.
Tips for achieving the best consistency
- Ensure your ingredients are well chilled before mixing, especially if you’re using a custard-based recipe. A colder base churns more easily, resulting in a smoother texture.
- Be careful not to overcook your custard base, as this can result in a grainy texture. If you’re unsure, use a thermometer and remove the mixture once it reaches about 170°F (77°C).
- If your base feels too thin after mixing, don’t worry—it will thicken up during the churning process!
Churning with the KitchenAid Ice Cream Maker
How to attach the KitchenAid Ice Cream Maker Attachment
Once your ice cream base is ready, it’s time to churn. First, attach the KitchenAid Ice Cream Maker Attachment to your KitchenAid stand mixer by aligning the mixer’s power hub with the attachment. Secure the freezer bowl into the attachment, ensuring it fits snugly. Then, insert the paddle attachment into the base of the freezer bowl, and you’re ready to start!
Recommended churn time for different textures
Churning time can vary depending on the consistency and texture you’re looking for:
For firmer ice cream, churn for 20-25 minutes. As the ice cream thickens, you’ll notice it pulling away from the sides of the bowl and becoming fluffier. Keep an eye on the consistency and stop churning once it reaches your desired texture.
For soft-serve-style ice cream, churn for 15-20 minutes—the ice cream will be smooth and slightly soft.
Freezing and Storing Your Ice Cream
Best containers for storage
After churning, transfer the ice cream into an airtight container for storage. The best containers for homemade ice cream are plastic or metal containers with tight-fitting lids. Avoid glass, as it can crack under freezing temperatures. If you want to avoid ice crystals forming on the surface, press a piece of wax paper or plastic wrap directly onto the surface of the ice cream before sealing the lid.
How long to let ice cream firm up before serving
After storing your ice cream, allow it to freeze for at least 2-3 hours to firm up fully. The time needed for freezing will vary based on the texture you prefer, so be patient! If the ice cream is too soft, it might be difficult to scoop. Once firmed up, your ice cream will be perfectly ready to serve!
With these simple steps, you’ll be able to create perfectly churned homemade ice cream using your KitchenAid stand mixer and the Ice Cream Maker Attachment. From preparing the base to storing your delicious creation, each step helps you achieve that smooth, creamy texture you crave. Enjoy experimenting with flavors and getting creative with your ice cream creations!
Flavor Variations and Pro Tips for the Best Results

Now that you’ve learned the basic steps to making perfect homemade ice cream with your KitchenAid Ice Cream Maker, let’s take it to the next level! Here are some flavor variations, troubleshooting tips, and serving suggestions to help you create the ultimate ice cream experience.
Classic and Unique Flavor Ideas
Vanilla, chocolate, and strawberry ice cream recipes
These classic flavors are a staple in any ice cream maker’s repertoire. Start with a basic ice cream base (custard-style or Philadelphia-style) and customize it with your favorite flavors:
- Vanilla: Use high-quality vanilla extract or even vanilla bean pods for an extra luxurious touch. If you’re feeling adventurous, try infusing your base with a touch of vanilla bourbon or almond extract for a twist!
- Chocolate: Add unsweetened cocoa powder or melted dark chocolate to the base for a rich, indulgent flavor. You can also add chocolate chips or swirls of fudge once the ice cream is churned.
- Strawberry: Use fresh or frozen strawberries to make a delicious fruit puree and fold it into the base. Adding a touch of lemon zest can brighten the flavor. For a chunkier texture, add chopped strawberries during the churning process.
Fun flavors: matcha, cookies & cream, salted caramel
Want to get a bit more creative? These trendy flavors are sure to impress your taste buds:
- Matcha: Blend matcha powder into your ice cream base for a subtle earthy flavor. This is a great option for green tea lovers! You can also add sweet red bean paste for an extra layer of flavor.
- Cookies & cream: Crush chocolate sandwich cookies and add them to your ice cream base while churning. For an extra decadent touch, swirl in some chocolate ganache.
- Salted caramel: Make homemade caramel sauce and swirl it through the ice cream base. The touch of sea salt will balance the sweetness and enhance the overall flavor profile. You can even mix in chopped pecans or toffee pieces for added crunch.
Troubleshooting Common Issues
Even with the best ingredients and the KitchenAid Ice Cream Maker Attachment, things don’t always go perfectly. Here are some common issues you might face and how to fix them:
Why is my ice cream too soft or icy?
If your ice cream turns out too soft or icy, there are a couple of factors to check:
- Freezer bowl temperature: Ensure your KitchenAid freezer bowl was frozen for at least 15 hours before use. If it’s not frozen solid, the ice cream won’t firm up properly during churning.
- Churning time: Make sure you’re churning long enough to achieve the desired consistency. Soft ice cream is often a sign of under-churning, so aim for 20-25 minutes of churning time for a firmer, more scoopable texture.
- Base temperature: If the ice cream base is too warm when added to the freezer bowl, it can result in icy crystals. Always chill your base in the fridge for at least 2 hours before churning.
How to fix grainy texture
If your ice cream has a grainy texture, it could be due to improper cooking of the custard base or sugar crystals. Here’s how to fix it:
Add more fat: If your ice cream is too grainy, try adding a bit more heavy cream or milk next time to improve the texture. Fat is essential for creating a creamy, smooth consistency.
Avoid overcooking the custard: If making a custard base, ensure the egg mixture is cooked gently and doesn’t boil. Egg yolks should thicken the base without creating curds.
Use a fine mesh strainer: Before adding your base to the freezer bowl, strain it through a fine mesh sieve to remove any potential lumps or undissolved sugar.
Serving Suggestions and Pairings
Once your ice cream is made, the fun continues with creative serving suggestions. Here are a few ways to elevate your homemade ice cream experience:
Waffle cones
There’s nothing quite like enjoying your ice cream in a crunchy waffle cone. For an extra indulgent treat, dip the top of the cone in melted chocolate and roll it in crushed nuts or sprinkles. You can even try serving your ice cream in sugar cones or bowls for a more traditional look.
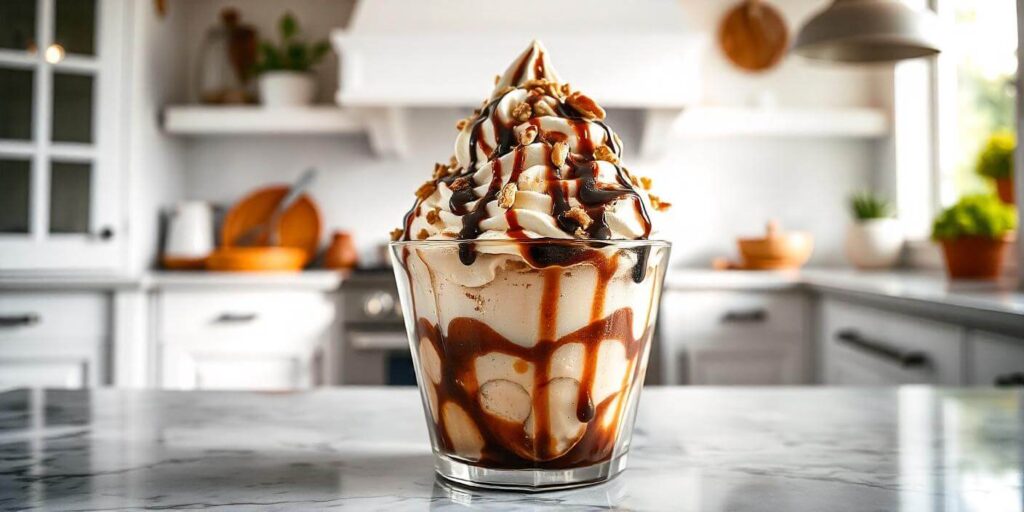
Chocolate syrup
Top your ice cream with a generous drizzle of chocolate syrup or hot fudge for a classic sundae treat. You can even make your own homemade chocolate syrup by melting down some dark chocolate and mixing it with cream and a little sugar.
Fruit toppings
Add a fresh, healthy touch with some vibrant fruit toppings. Berries, mango slices, or caramelized bananas pair wonderfully with many ice cream flavors. For a more indulgent option, try roasted peaches or grilled pineapple with a drizzle of honey and a sprinkle of cinnamon.
With these flavor variations, troubleshooting tips, and serving ideas, you’ll be well on your way to mastering the art of homemade ice cream. Whether you stick to the classics or venture into bold, new flavors, your KitchenAid Ice Cream Maker will be your secret weapon for creating the perfect frozen treat every time.
Look at this
Check out these recipes
Your Ultimate KitchenAid Ice Cream Journey
Making homemade ice cream with your KitchenAid Ice Cream Maker Attachment is more than just a fun activity; it’s a way to unlock endless possibilities for creating rich, creamy, and personalized frozen treats. Whether you’re a fan of classic vanilla or you want to experiment with unique flavors like matcha or salted caramel, your KitchenAid mixer will help bring your ice cream dreams to life.
With the step-by-step guide provided, you now have all the tools to confidently make ice cream that’s smooth, creamy, and perfectly textured. Remember to keep your freezer bowl properly chilled, follow the tips for making the base, and most importantly, don’t be afraid to get creative with flavors and add-ins.
If you encounter any hiccups along the way, our troubleshooting section will ensure that you can easily fix any texture issues, whether it’s too soft, icy, or grainy. And once your ice cream is ready, the possibilities for serving and pairing are endless, from classic waffle cones to indulgent chocolate syrup and fresh fruit toppings.
Ultimately, making homemade ice cream is about more than just the end result—it’s about enjoying the process, experimenting with new ideas, and sharing your creations with friends and family. So, whether you’re making a simple batch for a quiet night in or creating a special treat for a party, your KitchenAid Ice Cream Maker will always deliver the perfect scoop.
You can check out other recipes available in our recipes blog.
