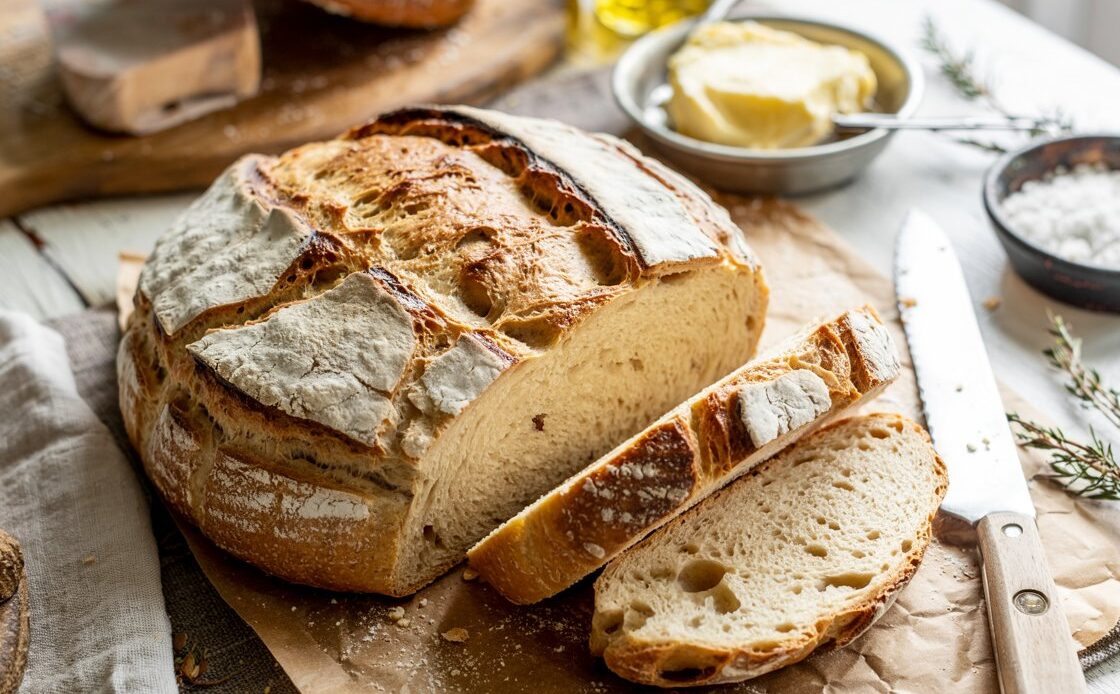
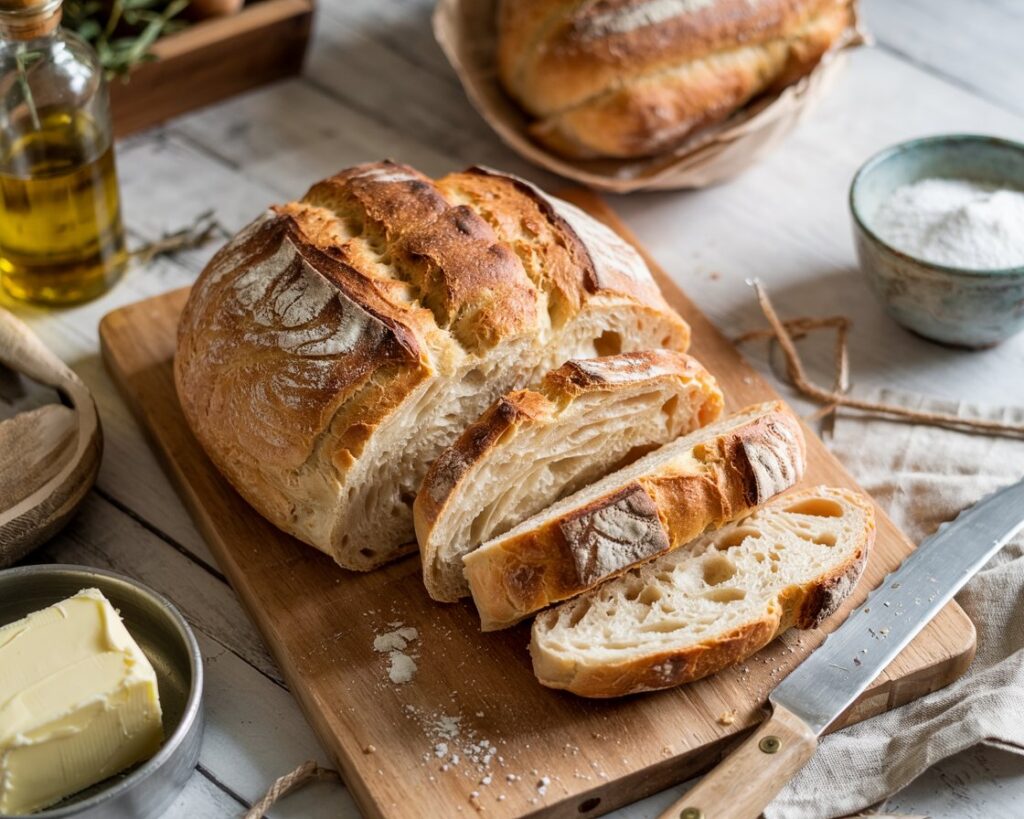
Gluten free sourdough bread isn’t just a trend — it’s a game-changer for bread lovers who thought they had to say goodbye to a chewy crust and tangy flavor. If you’ve ever bitten into a slice of dry, dense, store-bought gluten free bread and sighed in disappointment, you’re not alone. That’s why this recipe exists: to bring back the joy of baking real bread — minus the gluten, but packed with everything else that makes sourdough magical. Whether you’re gluten intolerant, experimenting with gut-friendly foods, or just curious, you’re about to discover the best loaf you’ll ever bake. Let’s dive in.
What Makes Gluten Free Sourdough Bread So Special? (It’s More Than Just “No Gluten”)
Gluten free sourdough bread stands out because it combines ancient fermentation techniques with modern dietary needs. It’s not just about removing gluten; it’s about adding depth, flavor, and nutritional benefits back into the bread. The natural fermentation process, driven by wild yeast and bacteria, breaks down starches, enhances nutrient absorption, and supports gut health. Unlike most gluten free breads, which often lack structure and flavor, sourdough benefits from slow fermentation, which creates a crusty, airy loaf with a complex flavor. It’s this process that gives gluten free sourdough its distinct edge over typical gluten free breads, making it a much more satisfying, gut-friendly option.
Fermentation Meets Freedom – A Gut-Friendly Revolution
Sourdough fermentation breaks down starches and enhances nutrient absorption. Even without gluten, it supports better digestion and gut health. Wild yeast and bacteria create organic acids that help control blood sugar and reduce phytic acid. Unlike most gluten free breads, sourdough develops real flavor and natural shelf life through this slow process.
Why Most Gluten Free Breads Fail (And How Sourdough Fixes That)
Regular gluten free breads often collapse or stay gummy due to lack of structure. They miss the chewiness, rise, and deep flavor of traditional bread. Sourdough changes that. The fermentation process builds strength, air pockets, and a crusty finish. It gives gluten free dough the life and texture it usually lacks.
Understanding Your Gluten Free Sourdough Starter (AKA Your Bread’s BFF)
Your gluten free sourdough starter is the heart of your bread, and unlike regular starters, it’s a bit more finicky. Because it doesn’t have gluten to support structure and elasticity, it needs extra care and the right balance of ingredients to thrive. Wild yeast and beneficial bacteria work together to ferment your flour, creating that signature tang and helping the dough rise. The key to a successful starter lies in using the right gluten free flours, such as brown rice, sorghum, or buckwheat, to give it the foundation it needs for fermentation. While these flours can be tricky, they work wonders when nurtured properly.
What It Is and Why It’s Not Like a Regular Starter
A gluten free sourdough starter relies on wild yeast and bacteria to ferment the dough, but without gluten, it needs more attention. The lack of gluten means less natural elasticity, so it can be slower to build strength. The use of flours like brown rice or sorghum, which are high in starch, helps feed the wild yeast, but it requires consistent feeding to maintain a healthy starter.
Troubleshooting Starter Drama — What That Smell Means
A healthy starter should smell mildly sour, but sometimes things can go wrong. Here’s a quick troubleshooting guide to help you get back on track:
| Sign | Possible Cause | Fix |
|---|---|---|
| Smells like cheese | Over-fermented | Feed more often to refresh the starter |
| Separation/liquid on top | “Hooch” – hungry starter | Stir and feed with more flour and water |
| Mold | Contamination | Discard the starter and start fresh |
How Long Does It Take to Build?
Building a gluten free sourdough starter is a gradual process. Here’s a simple timeline to show you what to expect:
- Day 1: Mix equal parts gluten free flour (e.g., brown rice, sorghum) and water. Let it sit at room temperature.
- Day 2-4: Feed the starter daily by discarding half and adding fresh flour and water. You’ll start to see bubbles form.
- Day 5-7: By now, your starter should be bubbly and aromatic. Continue feeding daily and watch it grow stronger.
- Day 7+ (Ready to bake): Once your starter has doubled in size within 4-6 hours of feeding, it’s ready for baking!
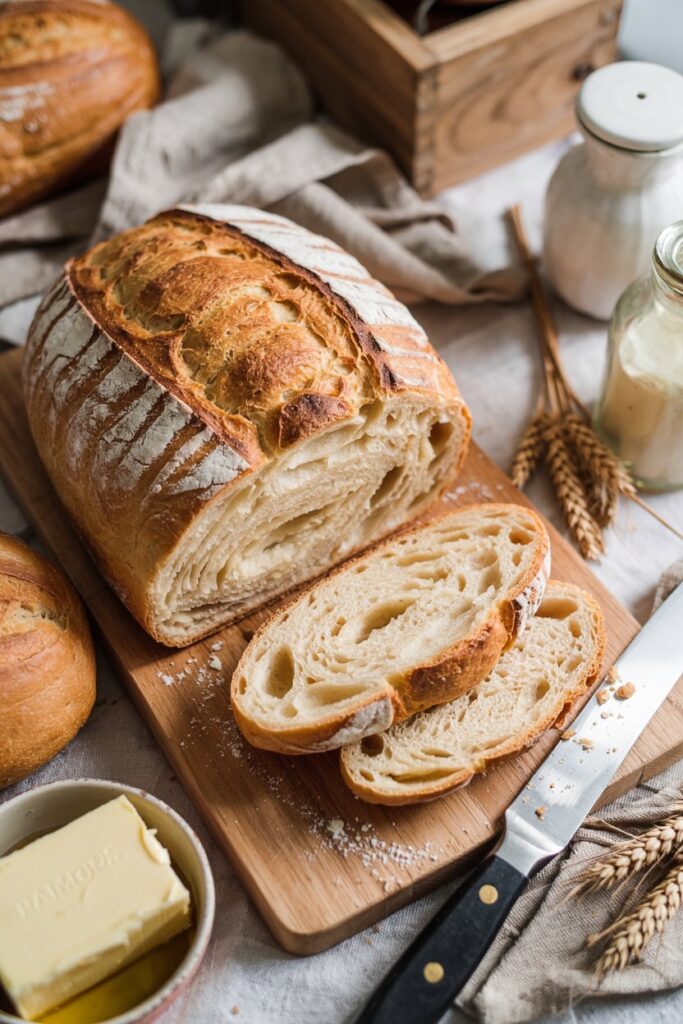
Choosing the Right Flours & Tools for That Perfect Crust and Crumb
Choosing the right flours and tools is essential when baking gluten free sourdough. Gluten-free flours can behave very differently from regular wheat flour, so understanding each one’s strengths is key to achieving the perfect loaf. Plus, the right tools help make the baking process smoother, leading to professional results. Let’s dive into the best options for both flours and tools to create a gluten free sourdough that will impress everyone.
The Best Gluten Free Flours for Sourdough
Each gluten free flour has unique qualities that affect texture, flavor, and fermentation. Here’s a breakdown of the best options to use in your sourdough recipe:
| Flour | Texture | Flavor | Fermentation | Best Use |
|---|---|---|---|---|
| Sorghum | Light & airy | Mild | Great | Core flour |
| Buckwheat | Dense | Earthy | Good | Add in small amounts |
| Brown rice | Neutral | Neutral | Excellent | Base flour |
| Teff | Sticky | Nutty | Moderate | Enriching flavor |
Each of these flours has its strengths: sorghum is excellent for structure, brown rice offers a neutral base, and teff adds a unique flavor.
Psyllium Husk – The Unsung Hero
Psyllium husk is an essential ingredient in gluten free sourdough bread. It acts as a binder and helps provide elasticity that gluten would typically offer. While it doesn’t mimic gluten exactly, psyllium husk helps create a more cohesive dough and improves the overall texture of the bread. Beyond just structure, it’s a great source of fiber, supporting digestive health and adding a bonus benefit to your bread. A small amount of psyllium can work wonders in making your bread light and airy while preventing it from being too crumbly.
Must-Have Tools for a Professional Finish
The right tools make a huge difference in achieving that perfect crust and crumb. Here are the must-haves for a professional-level gluten free sourdough:
- Dutch Oven: Traps steam for a crusty finish while maintaining even heat distribution.
- Proofing Baskets: Help shape your dough and create that classic round sourdough shape.
- Sharp Scoring Blade (Lame): Essential for scoring the dough so it rises evenly without bursting.
- Thermometer: Ensures your bread is fully baked without guesswork. The ideal internal temperature for sourdough is around 200°F (93°C).
These tools not only enhance the final result but also make the process more enjoyable, giving your bread the professional touch it deserves.
Timeline & Tips: Mastering the Gluten Free Sourdough Process Like a Pro
Baking gluten free sourdough may seem intimidating, but with the right approach, you can master the process in no time. This section will break down a realistic timeline, provide proofing tips for the perfect texture, and offer creative ways to tweak flavors. Let’s dive in and make gluten free sourdough baking approachable and fun!
A Realistic 2-Day Baking Timeline
Baking gluten free sourdough doesn’t have to be a week-long affair. Here’s a simple, digestible 2-day timeline to help you get from starter to fresh-baked bread:
Day 1:
- Morning: Feed your starter and let it rise (4-6 hours).
- Afternoon: Mix your dough, shape, and perform a quick first rise (2-3 hours).
- Evening: Shape your dough into the final loaf and refrigerate for overnight proofing.
Day 2:
- Morning: Preheat the oven with your Dutch oven inside (30-45 minutes).
- Midday: Bake your sourdough for 45-60 minutes, scoring before placing it in the oven.
- After Baking: Let it cool for at least an hour before slicing.
This timeline takes the pressure off, giving you a manageable approach while ensuring the best results.
Proofing Tips for Texture That Doesn’t Disappoint
Proofing is where the magic happens, and it’s crucial for achieving the right texture. Here’s when to proof at room temperature versus the fridge:
- Room Temperature Proofing (2-4 hours): This gives your dough time to rise and develop flavor. It’s perfect for the first proofing phase after mixing.
- Fridge Proofing (Overnight): This slow, cold fermentation allows the dough to develop deeper flavor and texture. It’s especially helpful if you’re baking the next day.
To test if your dough is ready, use the “poke test”: Gently press a finger into the dough. If the indentation remains, it’s ready for baking. Without gluten, you won’t see the usual springback, so this method is essential.
Flavor Tweaks & Add-Ins (Because You’re Not Basic)
Get creative with your gluten free sourdough by adding flavor boosters that take it to the next level. Here are some delicious add-ins and the flavors they pair well with:
| Add-In | Pairs Well With | Flavor Profile |
|---|---|---|
| Chopped rosemary | Olive oil | Savory, aromatic |
| Sun-dried tomatoes | Basil | Tangy, umami |
| Caramelized onions | Thyme | Sweet-savory |
| Crushed walnuts | Honey | Earthy, rich |
These ingredients don’t just add flavor; they also make each loaf unique. So, whether you’re craving savory herbs or a touch of sweetness, there’s always room for creativity in your sourdough.
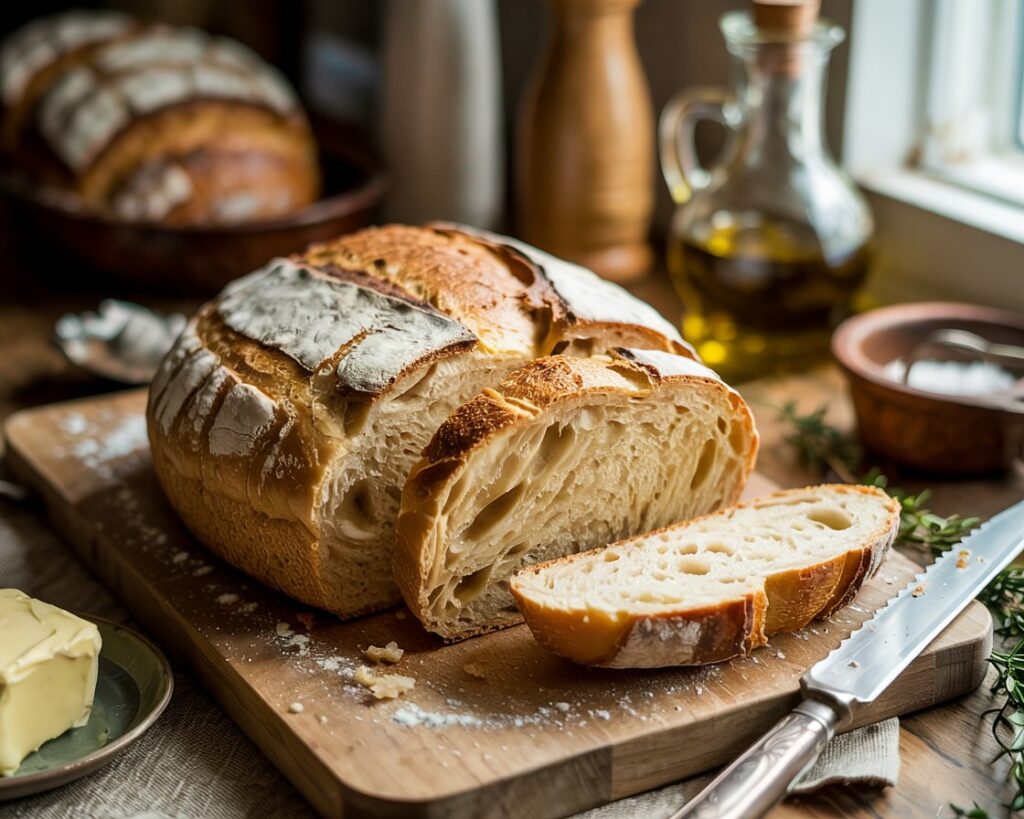
Perfecting Your Gluten Free Sourdough Bread Recipe
Now that you’ve mastered the essentials of gluten free sourdough bread, it’s time to bake your perfect loaf! Remember, patience and attention to detail are key, but with the right starter, flour, and tools, you’ll create a bread that rivals any traditional sourdough. Don’t be afraid to experiment with flavors and textures — this bread is all about making it your own.
For the perfect pairing, why not serve your gluten free sourdough with a fresh, vibrant salad? Check out our Grilled Salmon Salad with a Balsamic Vinaigrette, which complements the tangy flavors of your bread beautifully!
