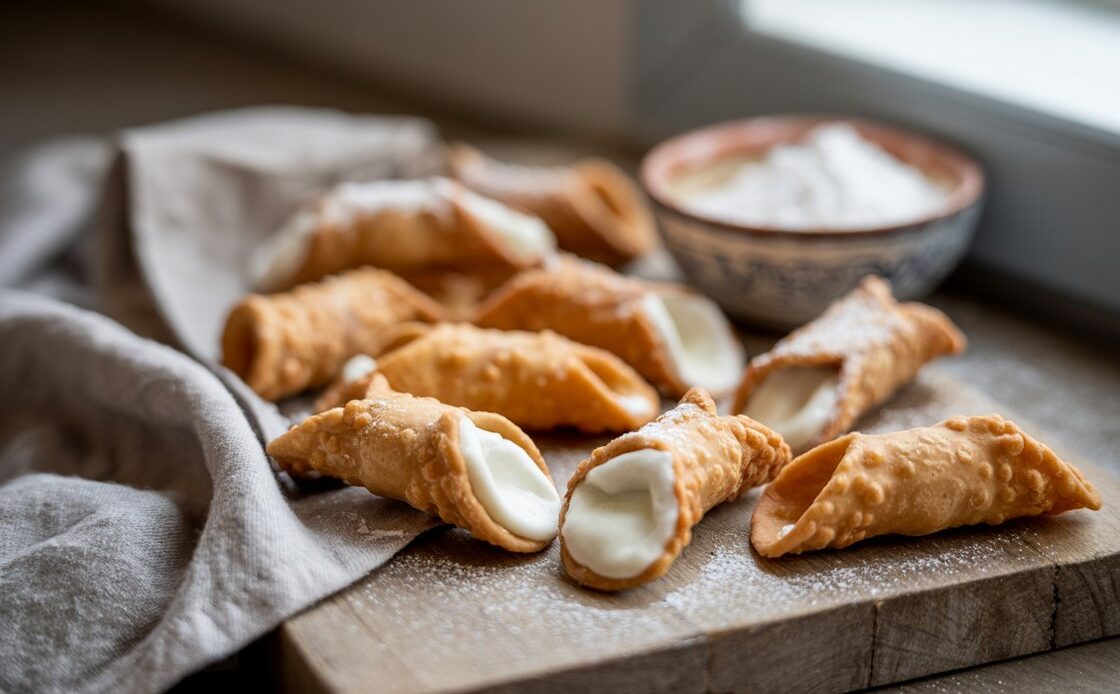
Cannoli shells are the crispy, golden foundation of one of Sicily’s most beloved desserts. These delicate pastry tubes provide the perfect crunchy contrast to the rich, creamy fillings that make cannoli a timeless treat. Understanding what makes the perfect cannoli shell — from its texture and thickness to the ingredients used — is essential for anyone looking to master this classic Italian pastry. In this guide, you’ll discover how to create homemade cannoli shells that are authentically crisp and delicious, making every bite a true taste of tradition.
Introduction to Cannoli Shells
Cannoli shells are more than just a vessel for the creamy filling; they are an essential part of what makes cannoli such a beloved dessert. Their unique texture and flavor contribute significantly to the overall experience, making the difference between a good cannoli and a truly exceptional one.
A Sweet Bite of Sicilian History
The story of cannoli shells traces back to Sicily, where this iconic pastry first emerged as a festive treat during Carnevale celebrations. Originally crafted as a symbol of fertility and abundance, cannoli quickly became a staple in Sicilian cuisine. The shells were designed to be sturdy yet delicate, capable of holding sweet ricotta or other fillings without losing their crispness. Over time, their preparation evolved but remained rooted in tradition, making them a cherished part of Italian pastry culture.
In this dessert, the shell is as important as the filling. Without a properly made shell, the creamy interior loses its contrast, resulting in a less satisfying bite. The crispness of the shell balances the softness of the filling, creating a harmonious texture combination that defines the classic cannoli.
What Makes a Great Cannoli Shell?
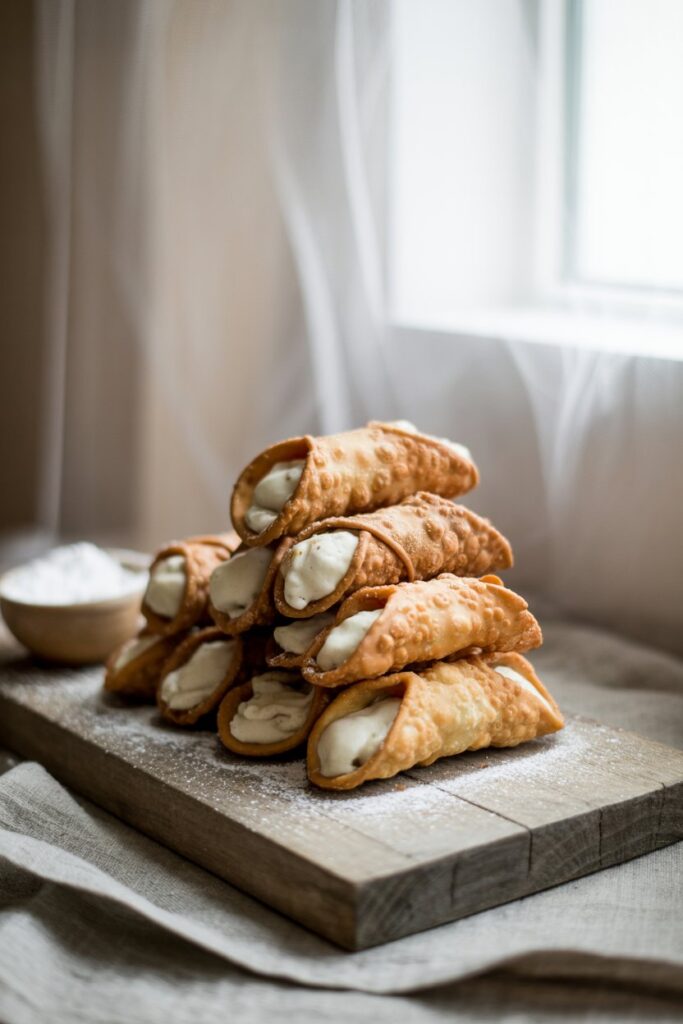
A perfect cannoli shell is characterized by a satisfying crunch that gives way effortlessly when bitten into. Its thickness must strike the right balance—thin enough to be light and crisp, but thick enough to hold its shape and the filling without becoming soggy. One of the key visual and textural features is the presence of small air bubbles throughout the shell, which add to the lightness and create a delicate crisp texture.
Beyond texture, flavor plays a crucial role. Traditional shells often have subtle hints of wine or vinegar, which enhance the pastry’s taste without overpowering the sweet filling. Achieving this balance between texture and flavor is essential to crafting a shell that complements rather than competes with the filling, ensuring every bite is enjoyable and true to the classic Italian dessert.
Ingredients Breakdown: The Anatomy of a Cannoli Shell
Understanding the role of each ingredient is key to mastering the art of cannoli shells. Each component contributes to the final texture and flavor, ensuring the shells come out crisp, light, and delicious.
Essential Ingredients
The basic ingredients include flour, egg yolk, fat (such as lard or shortening), an acid like vinegar or white wine, and sugar.
- Flour provides the structure needed to hold the shell together.
- Egg yolk adds richness and helps bind the dough.
- Fat is essential for creating a tender, flaky texture that crisps well during frying.
- The acid (vinegar or white wine) tenderizes the dough and contributes subtle flavor notes.
- A small amount of sugar adds just the right hint of sweetness without overpowering the shell.
Each ingredient works in harmony to produce the ideal balance between strength and crispness, which is what defines a great cannoli shell.
Ingredient Substitutions and Variations
If you prefer an alcohol-free recipe, vinegar paired with water can replace white wine without sacrificing tenderness or flavor. For those with dietary restrictions, vegan and gluten-free alternatives are possible:
- Use a gluten-free flour blend instead of regular flour.
- Substitute animal fats like lard or shortening with butter or coconut oil to keep the dough tender while adhering to vegan preferences.
Table – Ingredient Role & Alternatives
| Ingredient | Purpose | Possible Substitution |
|---|---|---|
| Flour | Structure | Gluten-free blend |
| White wine | Tenderizer, flavor enhancer | Vinegar + water |
| Lard/shortening | Crisp texture | Butter or coconut oil |
Tools You’ll Need (and Smart Kitchen Workarounds)

Having the right tools can make crafting cannoli shells much easier, but don’t worry if your kitchen isn’t fully equipped. There are plenty of clever alternatives to help you get the job done without hassle.
Must-Have Equipment
To make perfect cannoli shells, you’ll need a few basic tools:
- A rolling pin to roll the dough evenly and to the right thickness.
- A pastry cutter (or a sharp knife) for cutting dough into precise shapes.
- A frying pan or deep skillet for frying the shells to crisp perfection.
- A slotted spoon to safely remove the hot shells from the oil while allowing excess oil to drain.
DIY Alternatives if You Don’t Have Traditional Tools
No traditional cannoli tubes? No problem. You can create sturdy substitutes by rolling heavy-duty aluminum foil into small cylinders or by using clean spice jars of the right size to shape the dough. Both options work well for wrapping the dough before frying.
If you don’t own a frying thermometer, you can monitor the oil temperature by observing the bubbles when a small piece of dough is added:
- If bubbles rise steadily and the dough browns in about 30 seconds, the oil is likely between 170–180°C (340–360°F), which is ideal.
- If the dough browns too fast or burns, reduce the heat.
- If it sinks without bubbling much, the oil is too cool.
These simple workarounds make homemade cannoli shells accessible to any home cook.
Step-by-Step: Making the Perfect Dough
Creating the ideal dough is the foundation for crispy and flavorful cannoli shells. The process requires attention to texture and patience to achieve the best results.
Mixing the Dough
The goal when mixing is to develop a dough that is elastic but not tough. Overworking the dough can lead to a dense texture, while under-mixing may cause it to fall apart during frying. Use gentle but thorough kneading until the dough comes together smoothly. Adding the liquid ingredients slowly helps control moisture and prevents the dough from becoming too sticky.
Resting the dough is equally important. Allow it to rest for at least 30 minutes, covered, so the gluten can relax. This step makes rolling easier and reduces cracking, ultimately resulting in a tender, flaky shell.
Rolling and Cutting
For the perfect shell thickness, roll the dough out to about 1/8 inch (3 mm) — thin enough to be crisp but thick enough to hold the filling. Rolling evenly is crucial; uneven dough leads to inconsistent frying and texture.
Common shapes include circles and ovals, which can be trimmed into neat edges before wrapping around the tubes. Using a sharp pastry cutter or knife ensures clean cuts and smooth edges for a professional look.
Table – Dough Troubleshooting
| Problem | Possible Cause | Fix |
|---|---|---|
| Dough too tough | Overmixed or dry | Add small amounts of water |
| Cracks while rolling | Not rested enough | Rest longer, add fat |
| Doesn’t hold shape | Too wet or soft | Add flour, chill dough |
Frying Techniques for Flaky Cannoli Shells
Mastering the frying process is essential to achieve cannoli shells that are crisp, light, and perfectly golden. The right technique ensures shells develop their signature texture without becoming greasy or burnt.
The Art of Deep Frying
Maintaining the ideal oil temperature is crucial. The best frying temperature for cannoli shells is between 170°C and 180°C (340°F to 360°F). At this range, the shells cook quickly, developing a crisp exterior while remaining light inside. Frying at lower temperatures results in shells that absorb excess oil and become soggy, while higher temperatures cause burning and bitterness.
When frying, you can choose between single or batch frying. Single frying allows for more control over each shell but takes longer, while batch frying is faster but requires careful monitoring to keep the oil temperature stable and prevent overcrowding.
Getting the Signature Bubbles
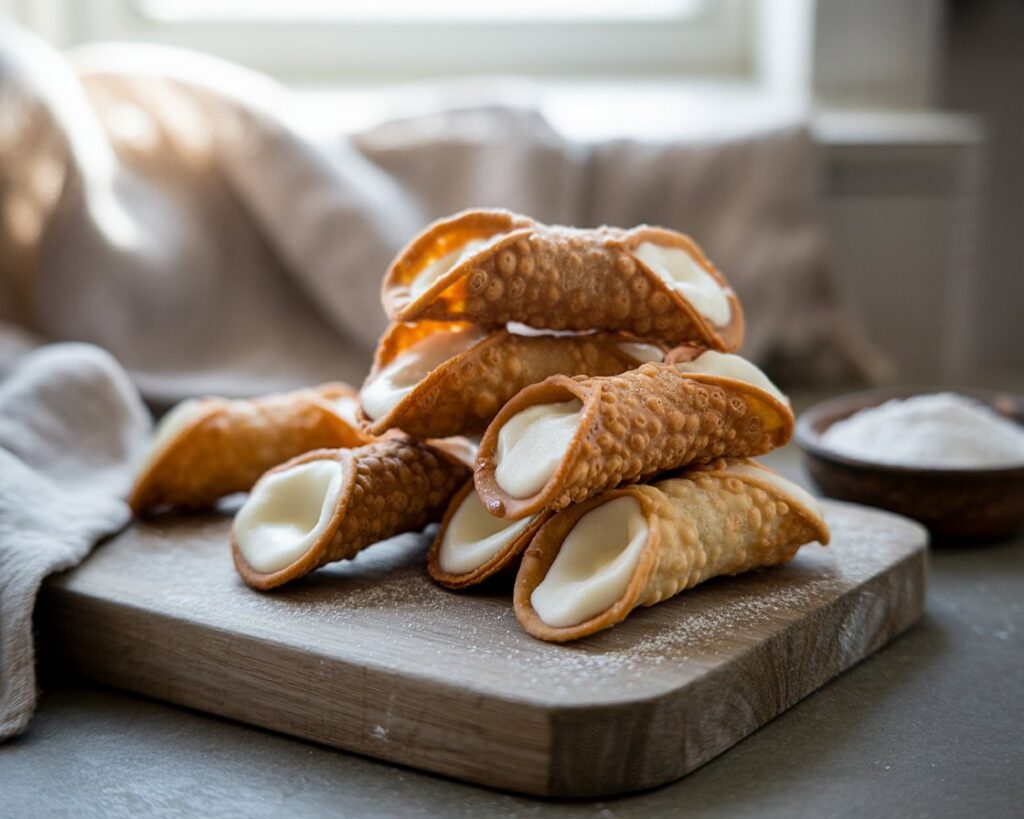
The delicate bubbles that form on cannoli shells are a hallmark of perfect frying. These bubbles create the airy texture and visual appeal that distinguish cannoli from other pastries. Bubbles form as moisture in the dough rapidly evaporates during frying.
To encourage this bubbly texture, incorporating a small amount of vinegar or white wine in the dough helps by creating tiny pockets of steam. Additionally, maintaining high and consistent heat during frying promotes rapid evaporation, resulting in those characteristic bubbles.
Table – Oil Temp vs. Shell Results
| Oil Temp (°C) | Result |
|---|---|
| 150°C | Too soft, absorbs oil |
| 170–180°C | Perfect: crisp and airy |
| 190°C+ | Too brown, may taste bitter |
Cooling, Storing, and Keeping the Crunch
After frying, handling your cannoli shells correctly is just as important as making them. Proper cooling and storage techniques help preserve their delicate crunch and keep them fresh until you’re ready to fill and serve.
Draining and Cooling Properly
As soon as the cannoli shells come out of the oil, place them on paper towels or a wire rack to drain excess oil. This prevents sogginess and helps maintain that light, crisp texture. Avoid stacking them while hot, as steam can cause them to soften.
Allow the shells to cool completely before removing them from the tubes or molds. If they’re still warm, they may stick or break apart. Cooling fully also helps them firm up and lock in the ideal crunch.
Storage Tips for Freshness
To keep your cannoli shells crisp, store them in an airtight container at room temperature. Avoid refrigeration, as it introduces moisture that can soften the shells. If you live in a humid environment, consider adding a paper towel to the container to absorb excess moisture.
Don’t fill the shells until just before serving—this is key to keeping the texture intact. With the right storage method, your shells can stay fresh and crunchy for up to five days.
Flavor Twists and Texture Experiments

Once you’ve mastered the basics, experimenting with flavors and textures can take your cannoli shells to the next level. Adding unique twists or adjusting thickness can create new and exciting taste experiences.
Shell Flavor Additions
While traditional cannoli shells have a subtle, slightly sweet flavor, incorporating ingredients like cocoa powder, cinnamon, or orange zest can add depth and personality. These additions complement classic fillings and introduce intriguing aroma notes.
You can also experiment with sweetened shells by increasing the sugar slightly or keep them neutral to balance richer or sweeter fillings. Both options offer versatility depending on the flavor profile you want to highlight.
Textural Play: Ultra-Thin or Rustic Thick
The thickness of your cannoli shells dramatically affects their mouthfeel. Ultra-thin shells produce a delicate crunch that melts quickly, pairing well with lighter, whipped fillings. On the other hand, rustic thick shells offer a hearty crunch that contrasts nicely with dense or creamy fillings.
Consider pairing shell texture and filling consistency thoughtfully: lighter shells with rich, heavy fillings and thicker shells with smoother, lighter creams. This balance enhances the overall eating experience, allowing each bite to be enjoyable and well-rounded.
FAQs & Troubleshooting Cannoli Shells
Even experienced bakers encounter challenges when making cannoli shells. This section addresses common questions and offers practical solutions to help you succeed every time.
Common Reader Questions
Why are my shells chewy?
Chewy shells usually result from undercooked dough or oil that’s not hot enough. Make sure to fry at the right temperature (170–180°C) until the shells are golden and crisp.
Can I bake instead of fry?
Baking is possible but changes the texture significantly. Baked shells tend to be less crisp and lack the characteristic bubbles of fried ones. For authentic results, frying is recommended.
How long can I store them?
Properly stored cannoli shells can stay crisp for up to five days in an airtight container at room temperature. Avoid filling them too early to prevent sogginess.
Quick Fixes for First-Time Mistakes
If your shells turn out greasy, the oil was likely too cool—next time, increase the temperature gradually. For shells that crack or break, resting the dough longer or adjusting thickness can help.
Undercooked shells can sometimes be refried briefly, but be careful not to burn them. Broken shells can be repurposed as crunchy dessert toppings or crushed into crumbs for layered treats, so don’t waste those efforts!
Cannoli Shells Worth the Effort
Making homemade cannoli shells may take time and patience, but the results are truly worth it. The crispy texture, rich flavor, and satisfying crunch simply can’t be matched by store-bought alternatives. Crafting them yourself lets you control every detail, ensuring an authentic taste and quality that impresses every time.
Celebrate the Crunch
There’s a special joy in biting into a perfectly crisp cannoli shell that you made from scratch. It elevates the entire dessert experience and showcases your baking skills. This delicate crunch, combined with creamy filling, is what makes homemade cannoli so memorable.
Share and Store: Tips for Impressing Guests
To keep your shells at their freshest, store them in an airtight container at room temperature until ready to serve. Avoid filling them too far in advance—fill the shells just before serving to maintain their crispness.
With these tips, you’ll not only create delicious cannoli shells but also delight friends and family with a classic dessert that’s both impressive and irresistibly crunchy.
Why Homemade Cannoli Shells Are Worth Every Effort
Making homemade cannoli shells may require patience and practice, but the delicious, crispy results make it well worth your time. Unlike store-bought options, homemade shells offer unmatched freshness, texture, and flavor that elevate the classic Italian dessert. By mastering the art of crafting perfect shells, you ensure every bite is a satisfying balance of crunch and cream. With proper storage and timing when filling, your cannoli shells will impress guests and make any occasion special.
